Using GitHub and starting your final projects
In this week’s class we will learn the basics of version control, so that you can work on your final projects in a clean folder with a single set of files, but can save snapshots of versions of your work at each point and return to them if necessary.
This avoids the hell of having to search through multiple versions of similar files. That, as Ben Welsh of the Los Angeles Times explains in this video, legendary in data journalism circles as “Ben’s rant,” is nihilism!
Version control was invented for programmers working on complex coding projects. But it is good practice for any project — even if all you are managing are versions of a simple website, or a series of spreadsheets.
This tutorial borrows from the Workflow and GitHub lession in Jeremy Rue’s Advanced Coding Interactives class — see the further reading links below.
Introducing Git, GitHub and GitHub Desktop
The version control software we will use is called Git. It is installed automatically when you install and configure GitHub Desktop. GitHub Desktop is a point-and-click GUI that allows you to manage version control for local versions of projects on your own computer, and sync them remotely with GitHub. GitHub is a social network, based on Git, that allows developers to view and share one another’s code, and collaborate on projects.
Even if you are working on a project alone, it is worth regularly synching to GitHub. Not only does this provides a backup copy of the entire project history in the event of a problem with your local version, but GitHub also allows you to host websites. This means you can go straight from a project you are developing to a published website. If you don’t already have a personal portfolio website, you can host one for free on GitHub.
The files we will use today
Download the files for this session from here, unzip the folder and place it on your desktop. It contains the following folders and files:
index.html index2.html Two simple webpages, which we will edit and publish on GitHub.css fonts js Folders with files to run the Bootstrap web framework.
Some terminology
repositoryorrepoThink of this as a folder for a project. A repository contains all of the project files, and stores each file’s revision history. Repositories on GitHub can have multiple collaborators and can be either public or private.cloneCopy a repository from GitHub to your local computer.masterThis is the main version of your repository, created automatically when you make a new repository.branchA version of your repository separate from the master branch. As you switch back and forth between branches, the files on your computer are automatically modified to reflect those changes. Branches are used commonly when multiple collaborators are working on different aspects of a project.pull requestProposed changes to a repository submitted by a collaborator who has been working on a branch.mergeTaking the changes from on branch and applying them to another. This is often done after a pull request.pushorsyncSubmitting your latest commits to the remote responsitory, on GitHub and syncing any changes from there back to your computer.gh-pagesA special branch that is published on the web. This is how you host websites on GitHub. Even if a repository is private, its published version will be visible to anyone who has the url.forkSplit off a separate version of a repository. You can fork anyone’s code on GitHub to make your own version of their repo.
Here is a more extended GitHub glossary.
Create and secure your GitHub account
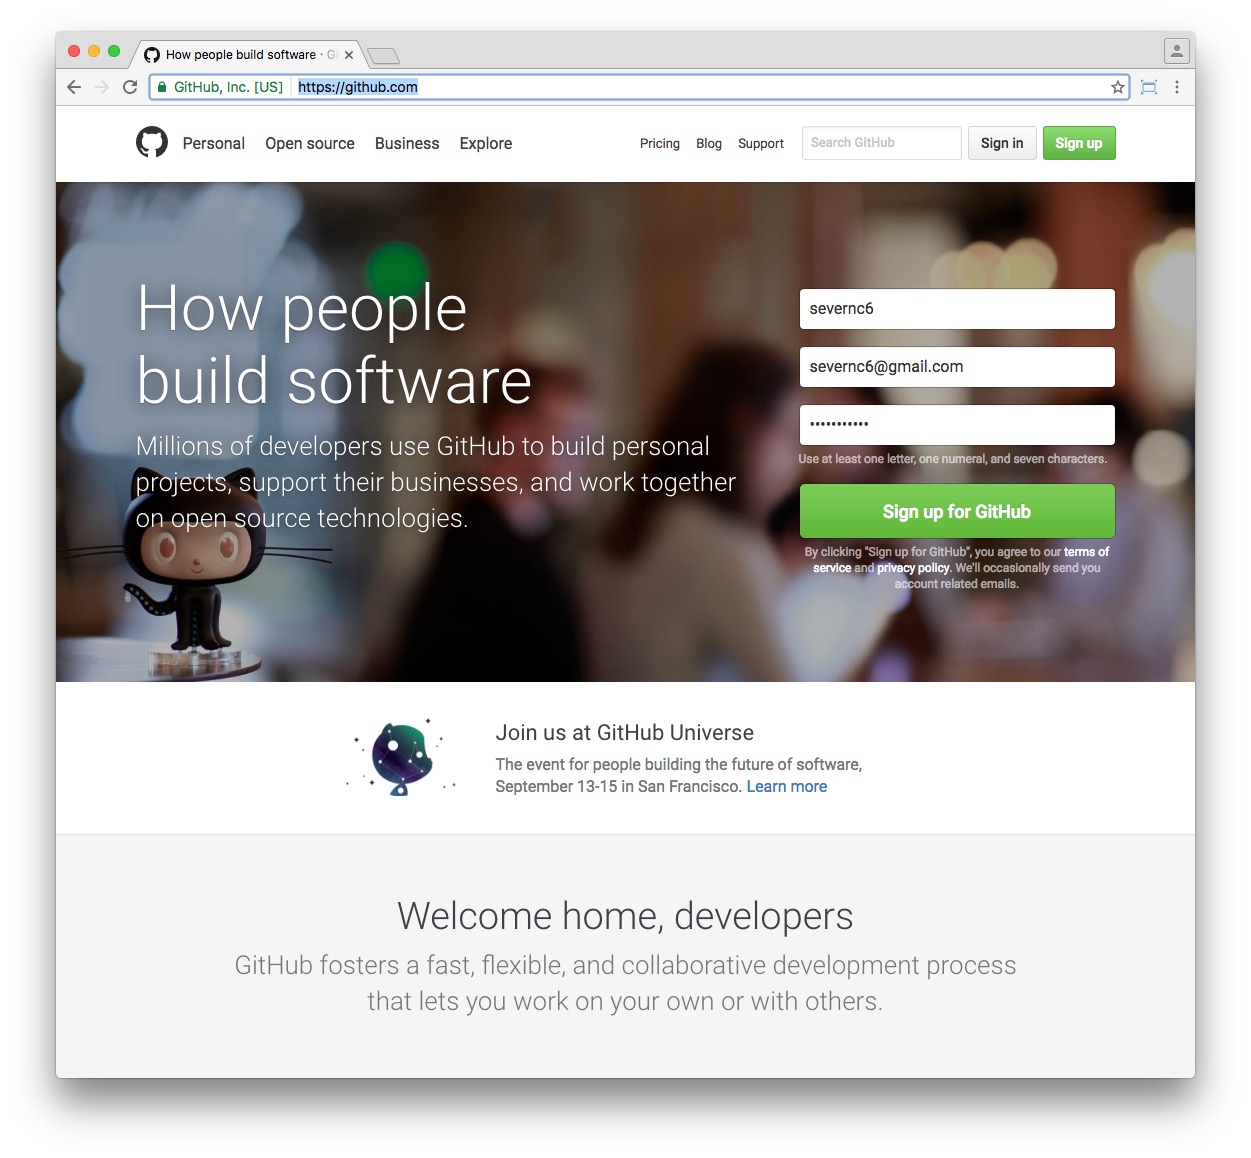
Navigate to GitHub and sign up:
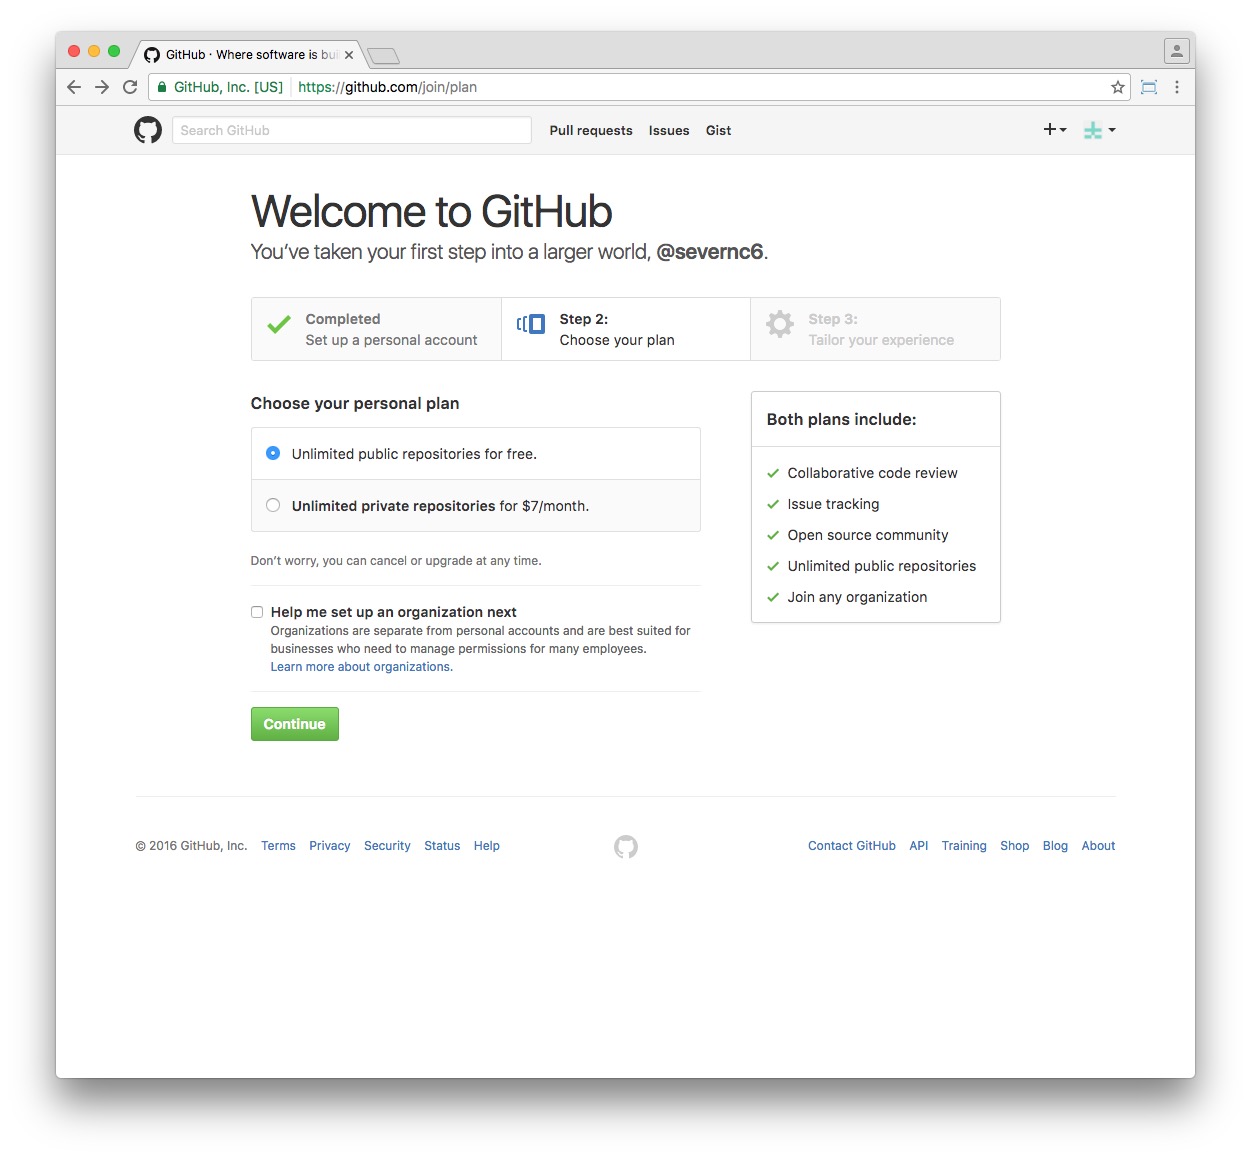
Choose your plan. If you want to be able to create private repositories, which cannot be viewed by others on the web, you will need to upgrade to a paid account. But for now select a free account and click Continue:
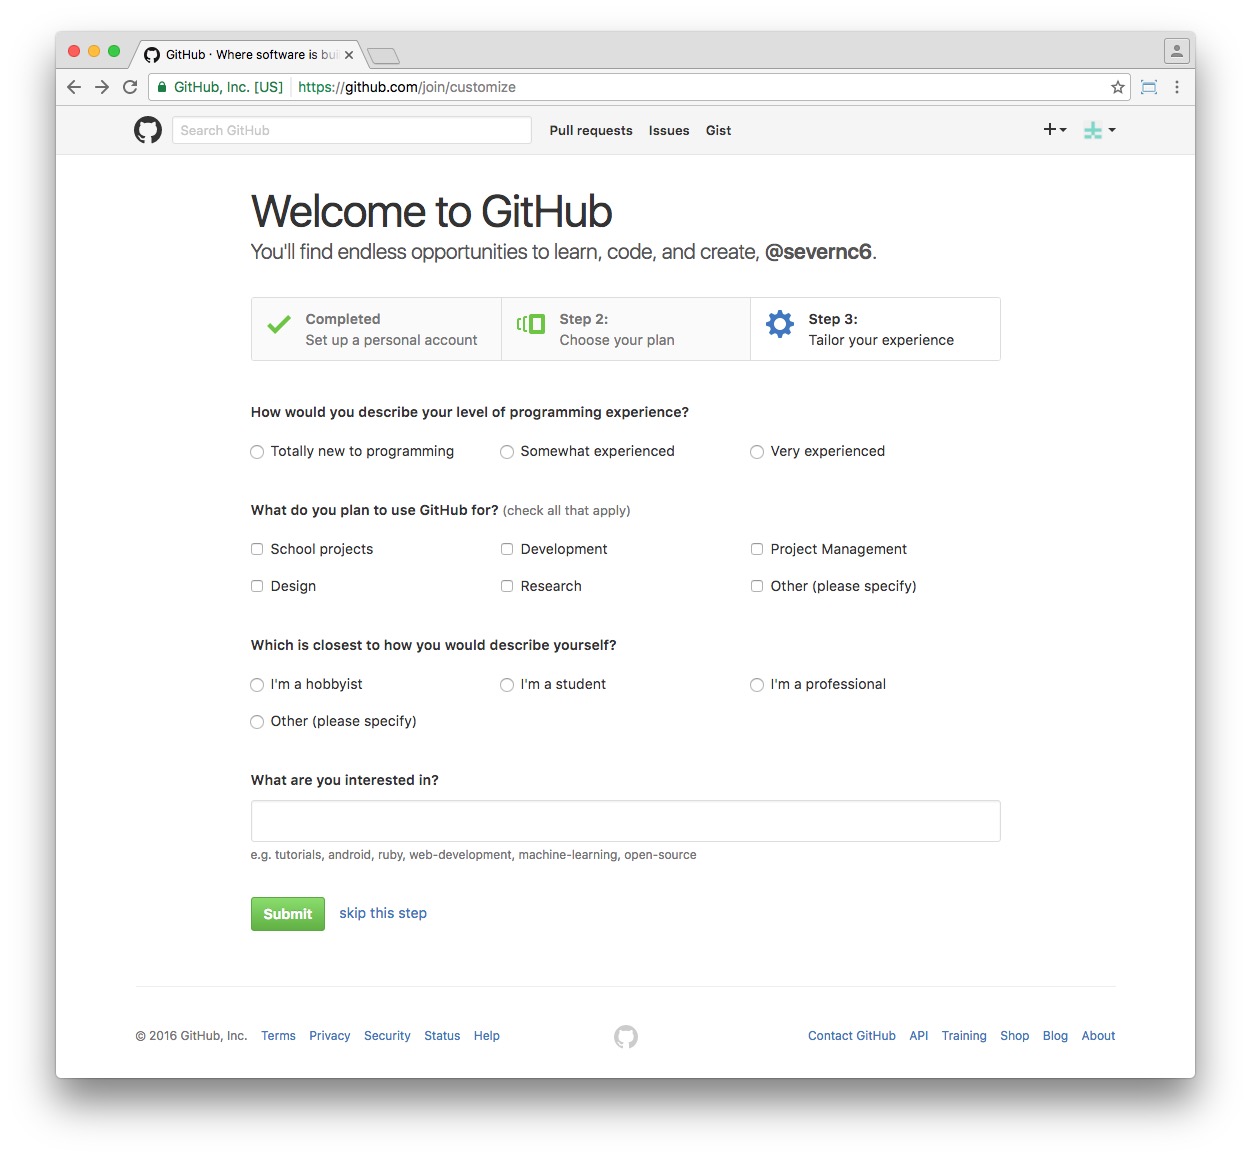
At the next screen, click the skip this step link:
Now view your profile by clicking on the icon at top right and selecting Your profile. This is your page on GitHub. Click Edit profile to see the following:
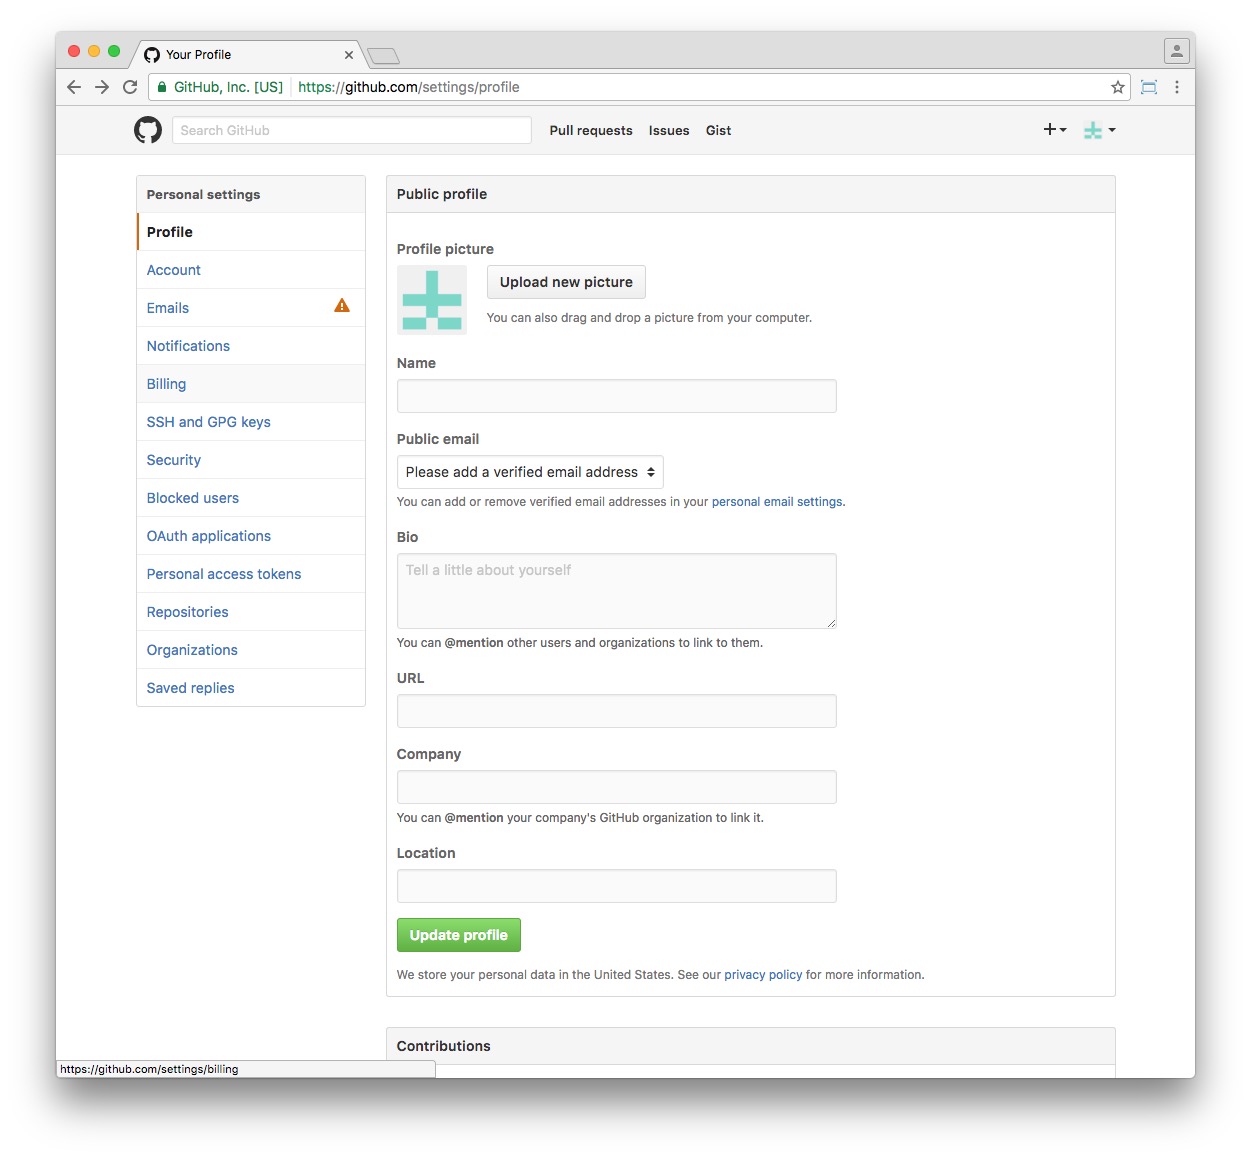
Here you can add your personal details, and a profile picture. For now just add the name you want to display on GitHub. Fill in the rest in your own time after class.
You should have been sent a confirmation email to the address you used to sign up. Click on the verification link to verify this address on GitHub.
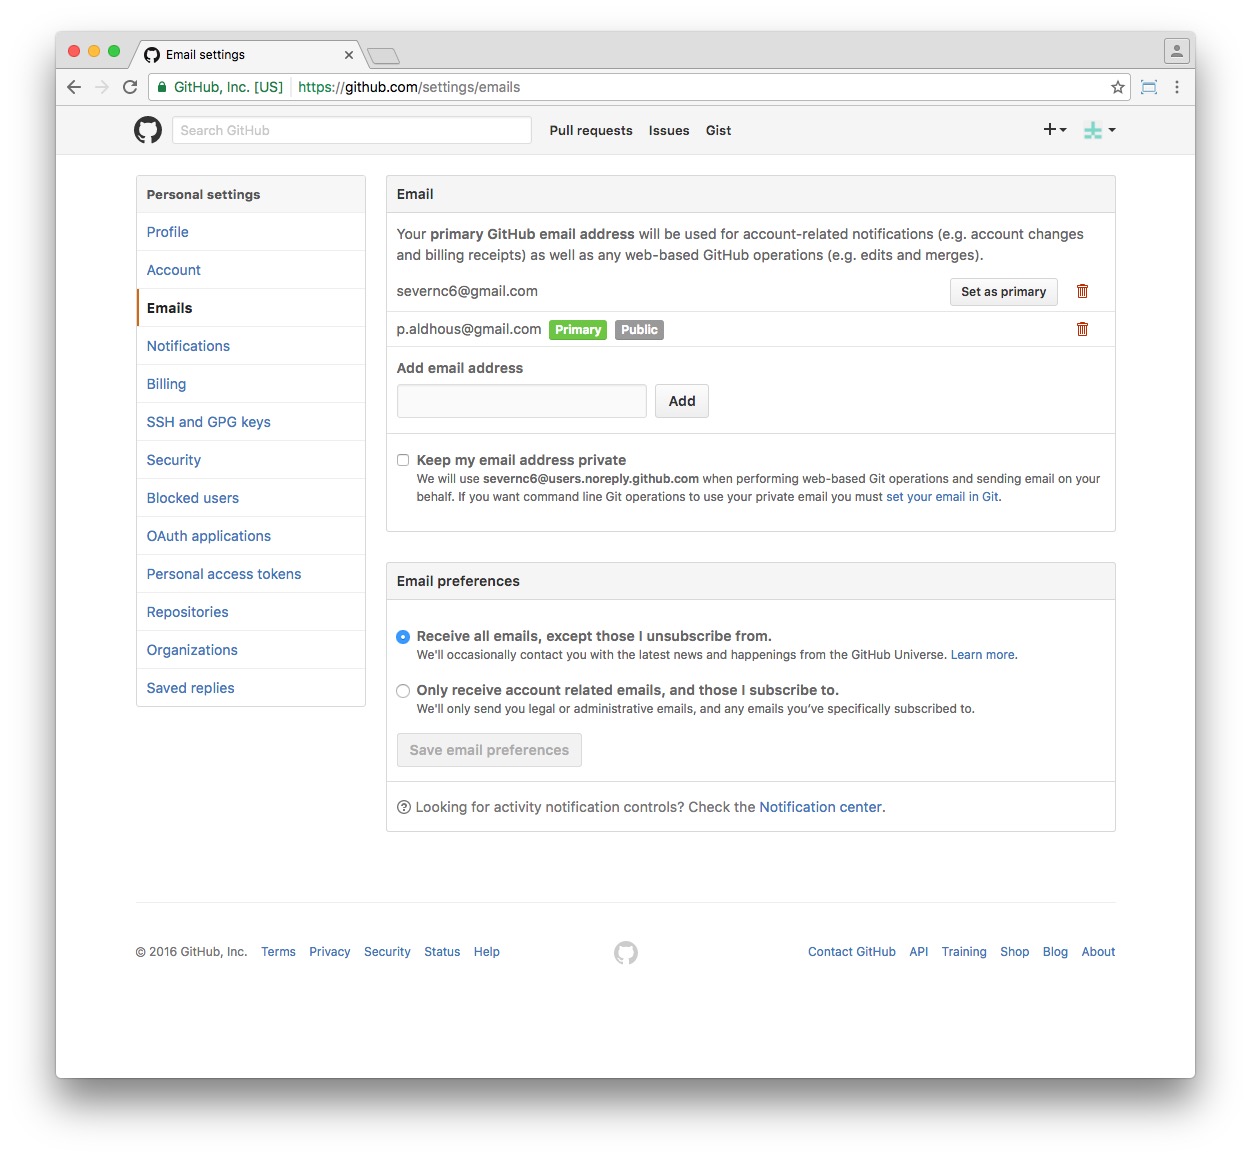
Back on the GitHub website, click on the Emails link in the panel at left. If you wish, you can add another email to use on GitHub, which will need to be verified as well. If you don’t wish to display your email on GitHub check the Keep my email address private box.
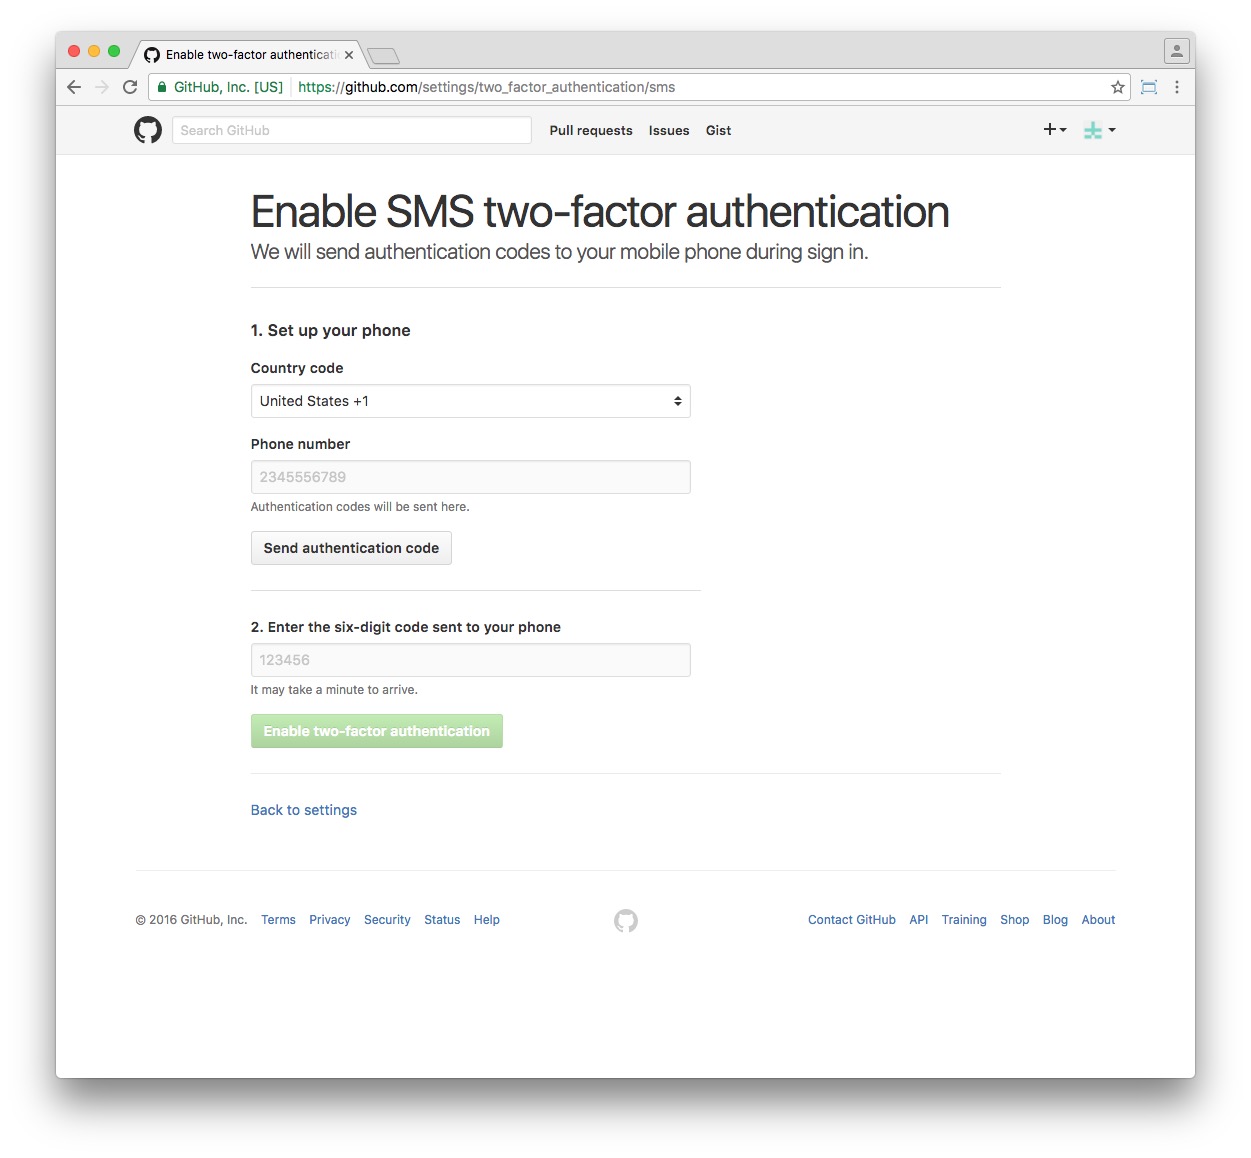
Now click on the Security link. I strongly recommend that you click on Set up two-factor authentication to set up this important security feature for your account. It will require you to enter a six-digit code sent to your phone each time you sign on from an unfamiliar device or location.
At the next screen, click Set up using SMS. Then enter your phone number, send a code to your phone and enter it where shown:
At the next screen click Download and print recovery codes. These will allow you to get back into your account if you lose your phone. Do print them out, keep them somewhere safe, and delete the file.
Open and authenticate GitHub desktop
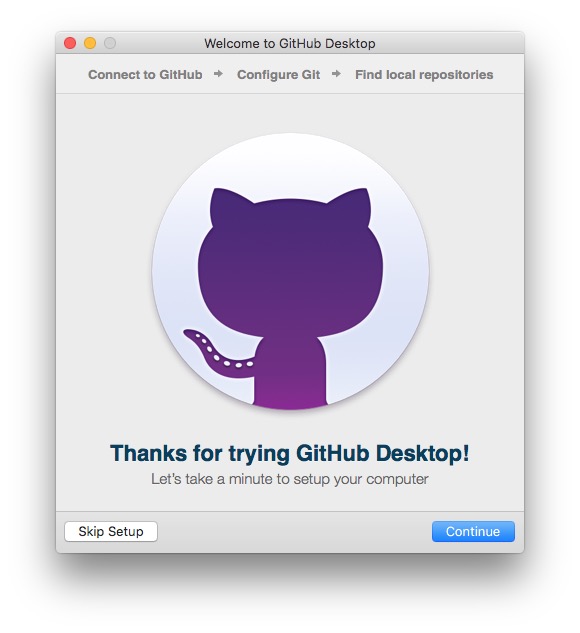
Open the GitHub Desktop app. At the opening screen, click Continue:
Then add your GitHub login details:
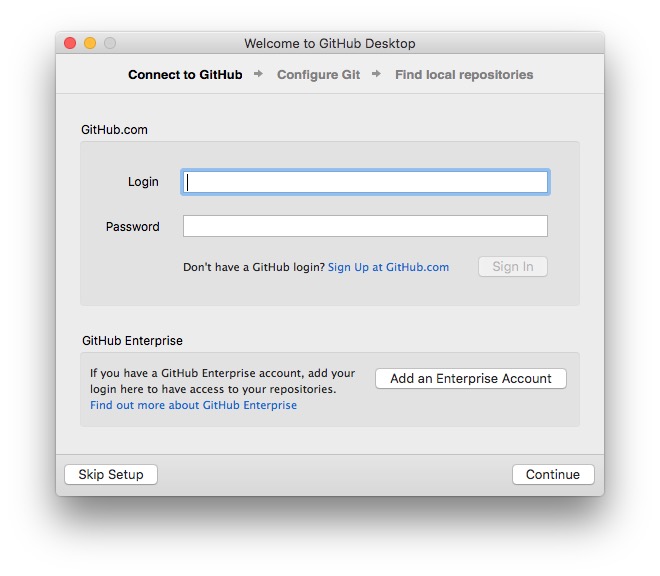
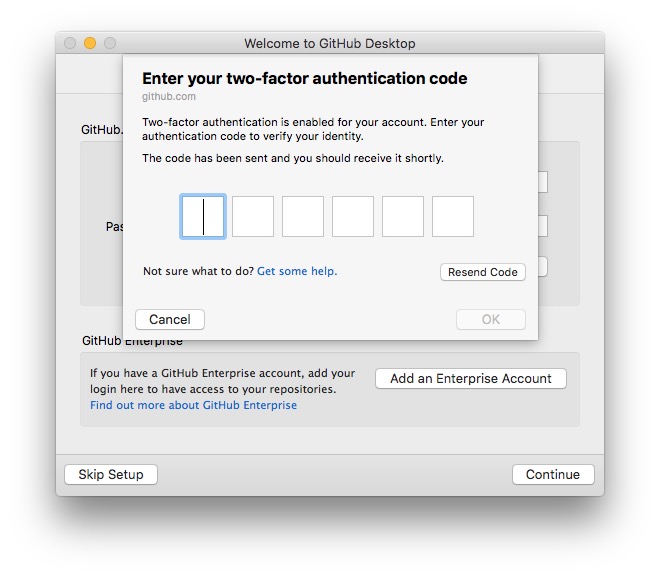
You will then be sent a new two-factor authentication code which you will need to enter:
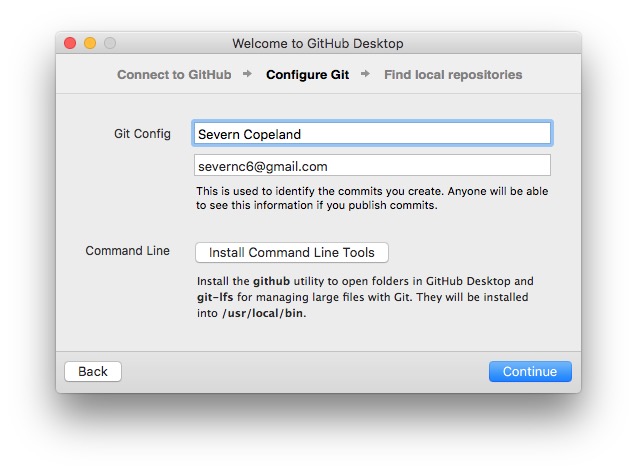
At the next screen, enter your name and email address if they do not automatically appear, click Install Command Line Tools, and then Continue:
Then click Done at the Find local repositories screen, as you don’t have local repositories to add.
The following screen should now open:
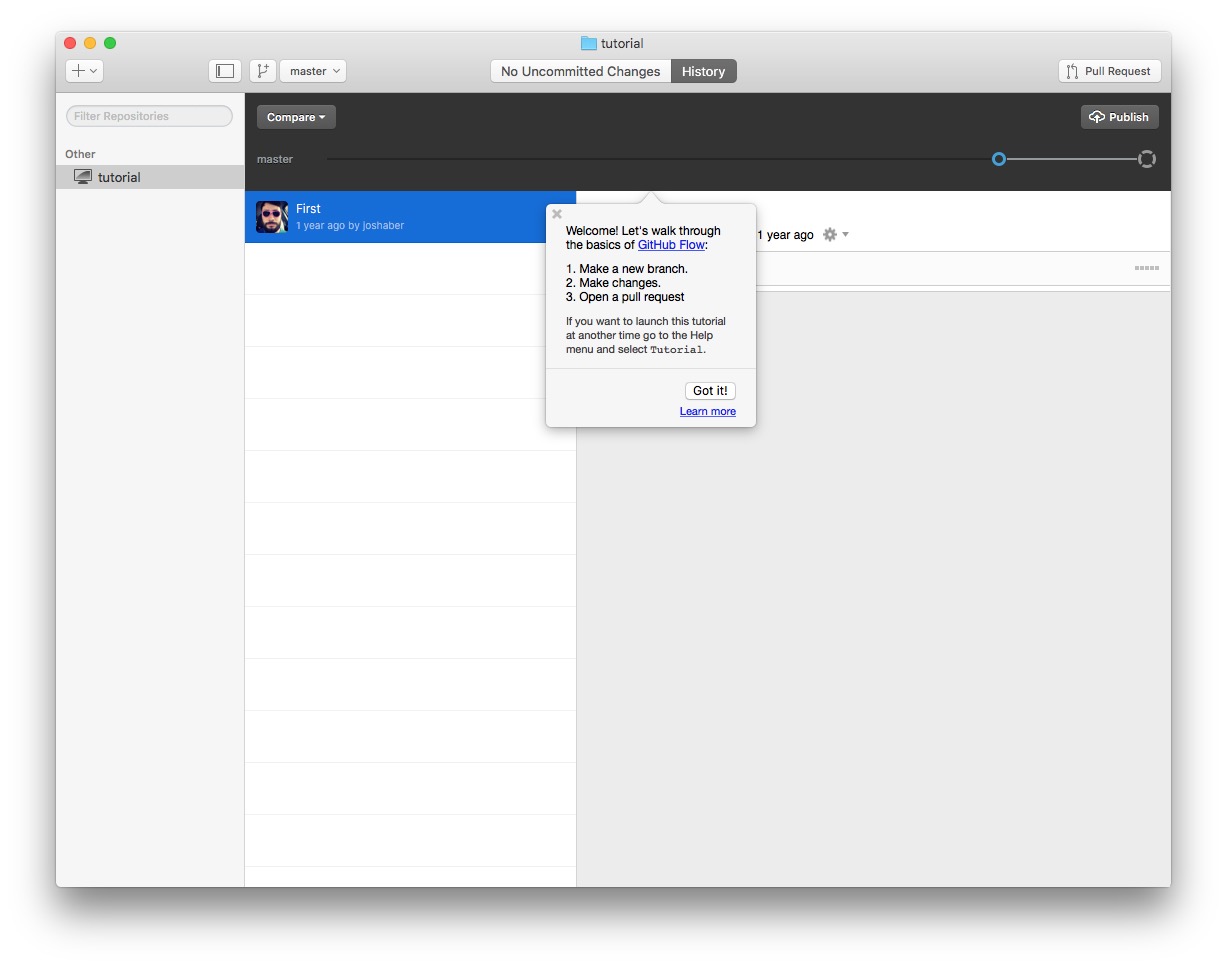
Your workspace contains one repo, which is an automated GitHub tutorial. Complete this in your own time if you wish. It will repeat many of the steps we will explore today.
Your first repository
Create a new repository on GitHub
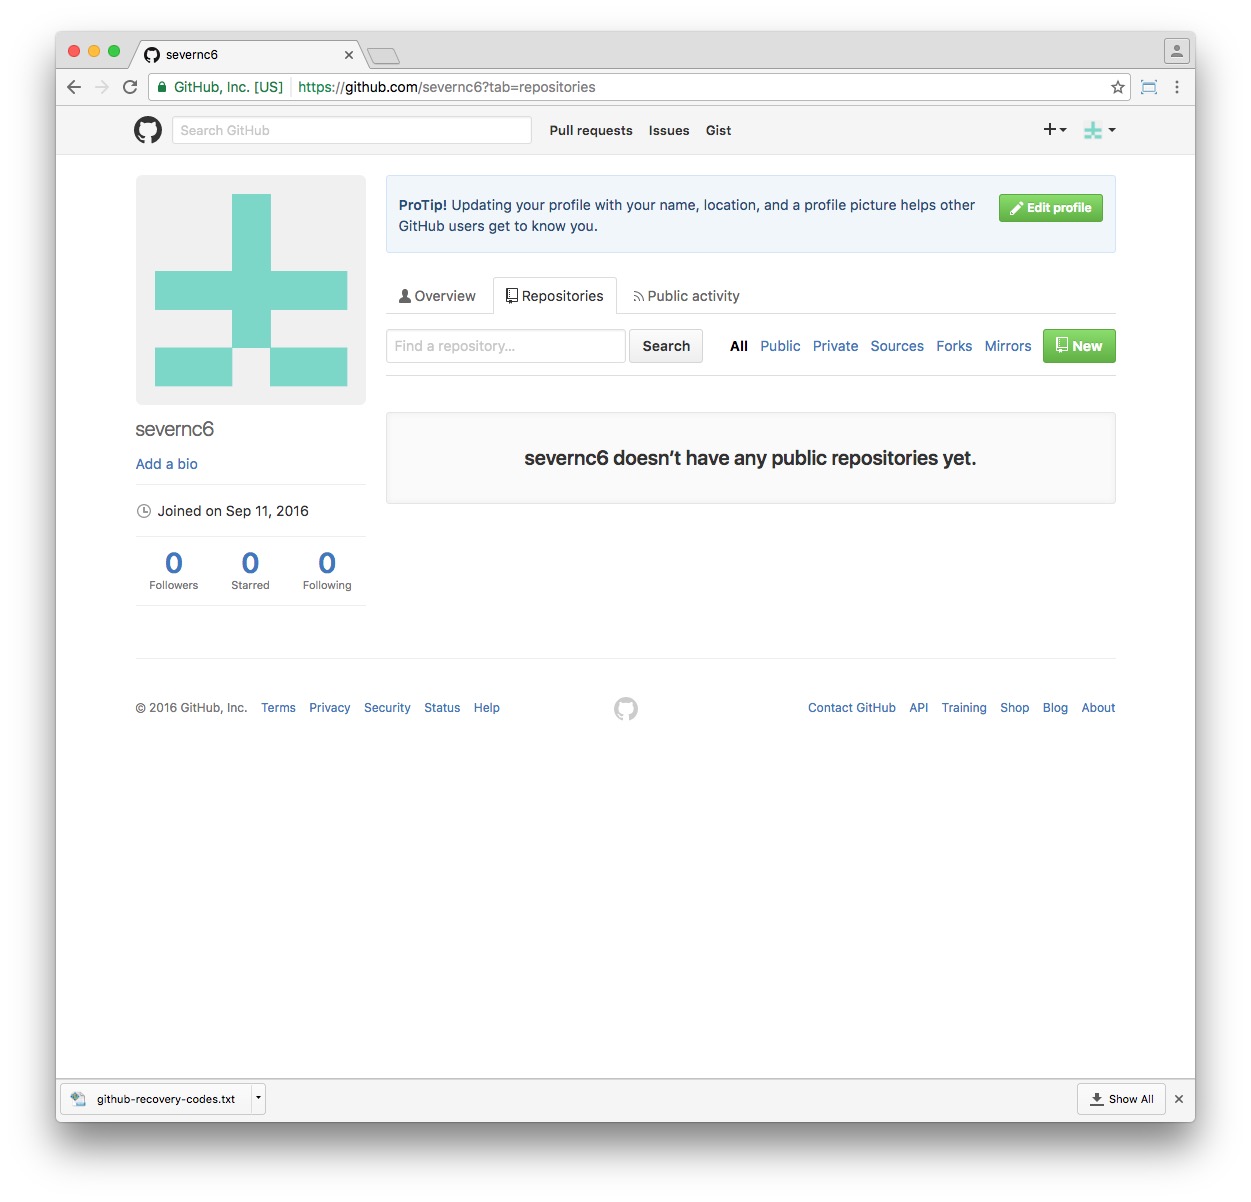
Back on the GitHub website, go to your profile page, click on the Repositories tab and click New:
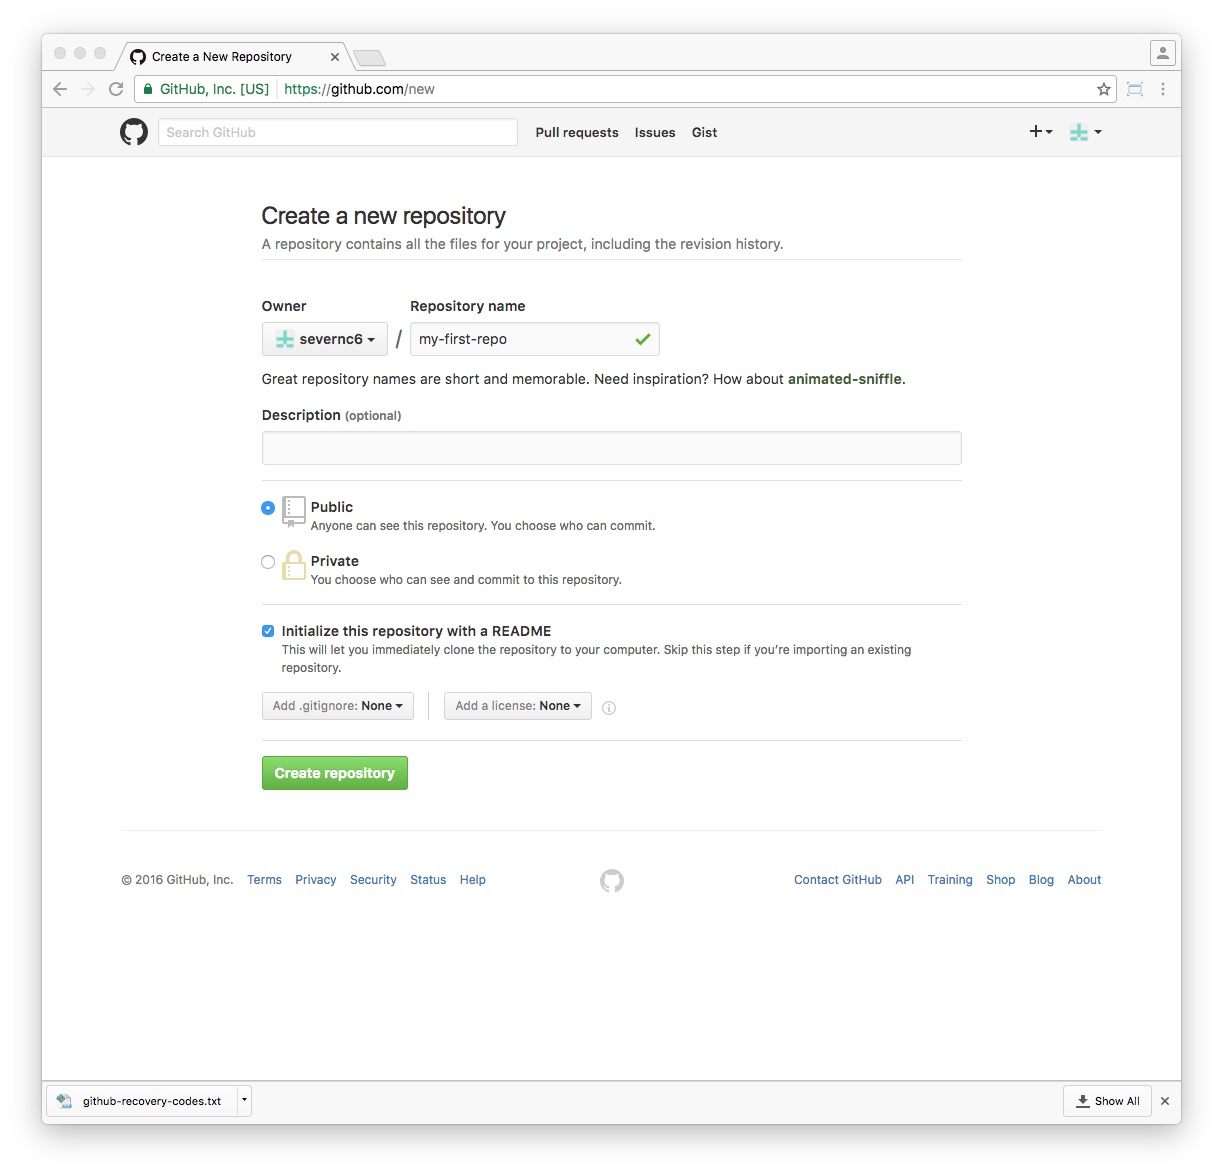
Fill in the next screen as follows, giving the repository a name and initializing it with a README file. Then click Create repository:
You should now see the page for this repo:
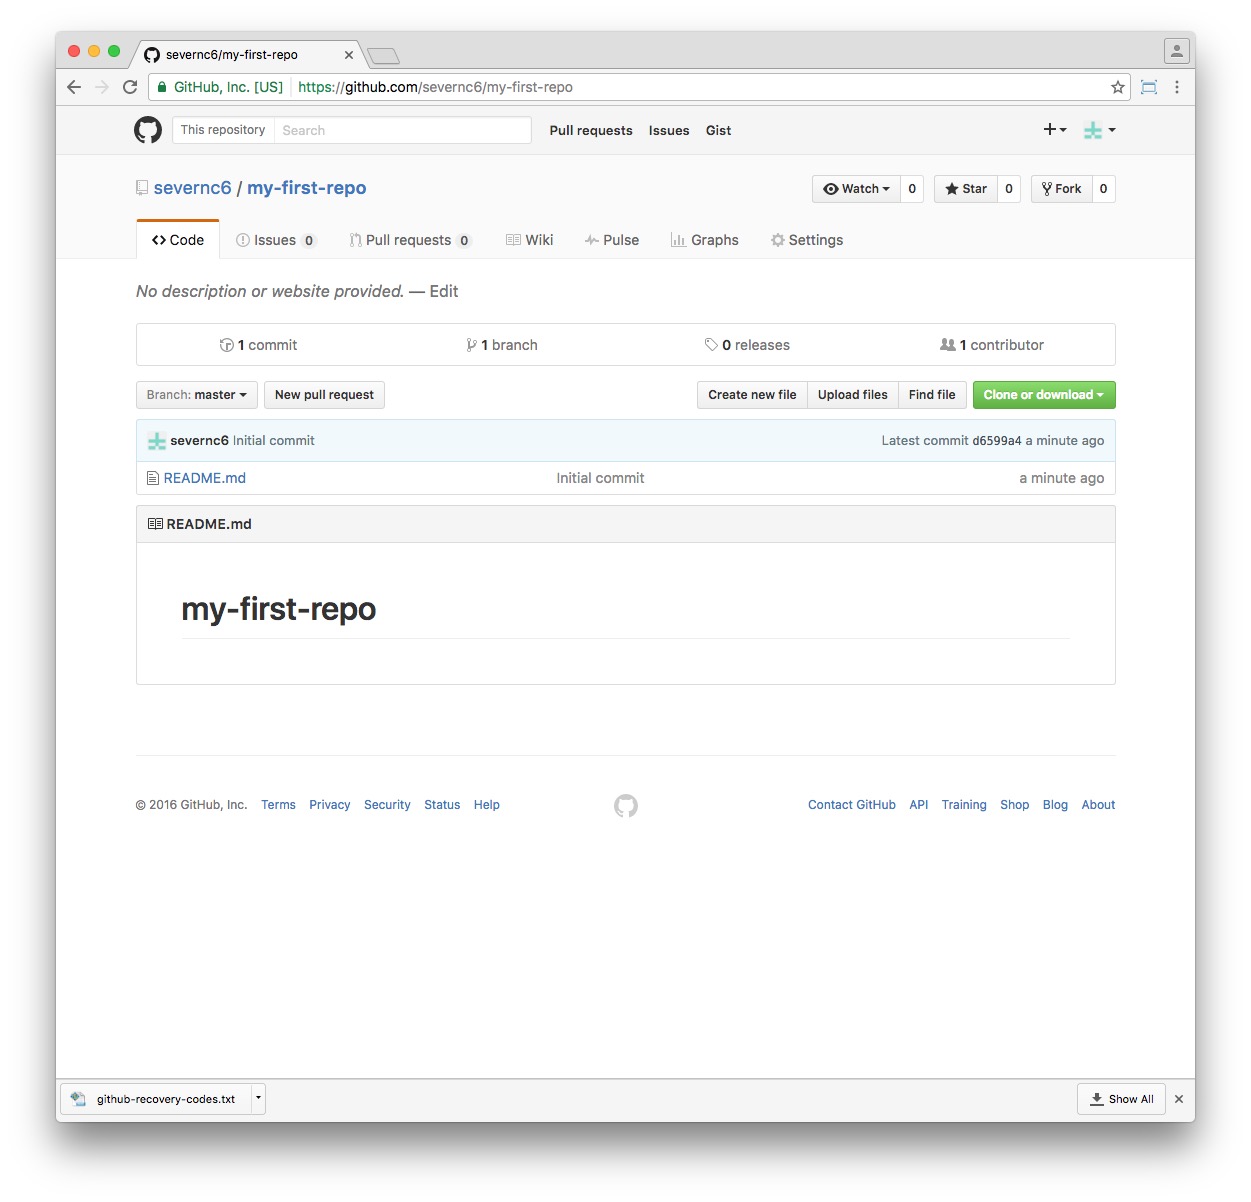
Notice that there is an Initial commit with a code consisting of a series of letters and numbers. There will be a code for each commit you make from now on.
Clone to GitHub desktop
Click on Clone or download and select Open in Desktop:

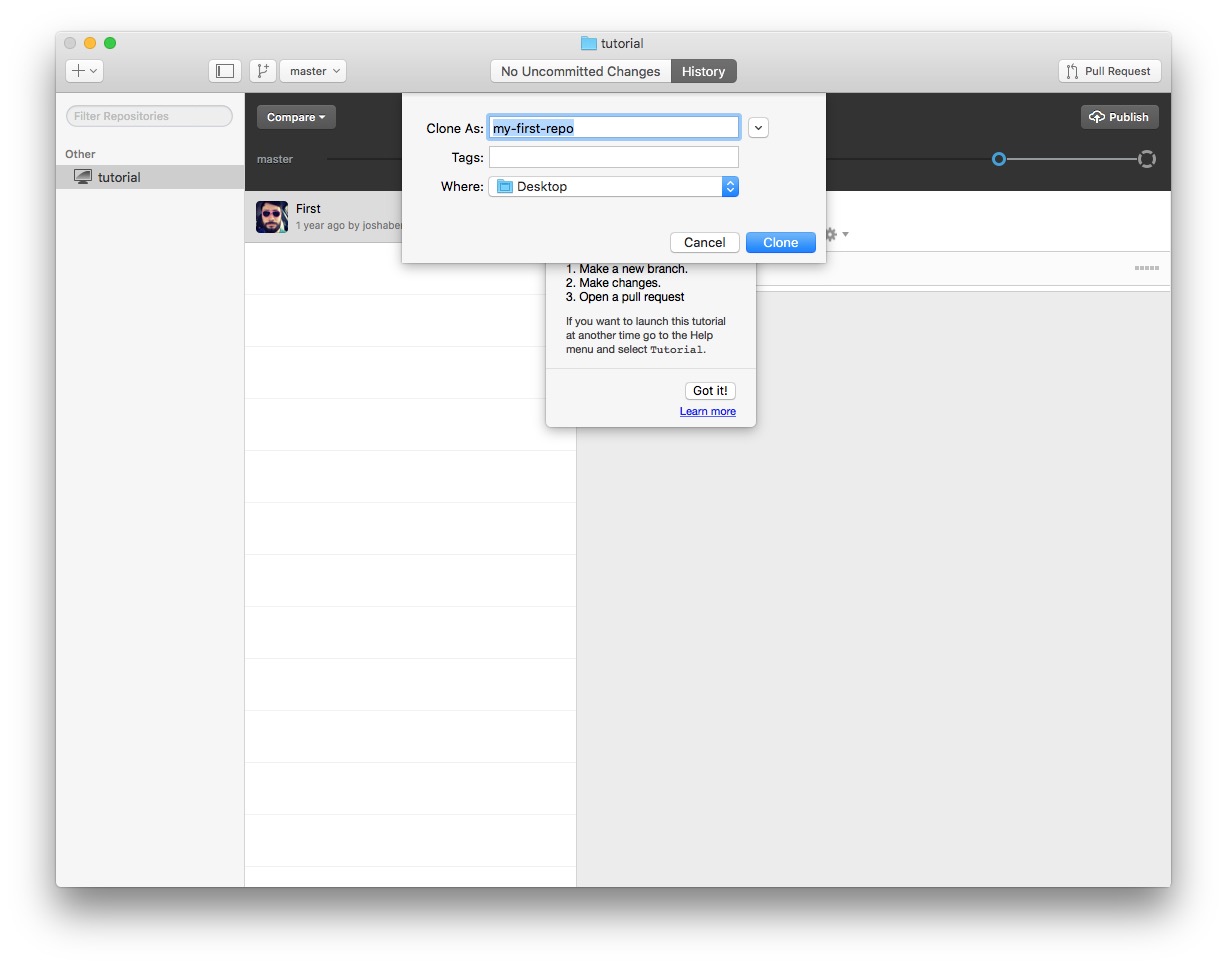
You should now be sent to the GitHub Desktop app, where you will be asked where on your computer you wish to clone the repo folder. Choose a location and click Clone:
Now you should be able to see the repo in the GitHub Desktop app:

You should also be able to find the folder you just cloned in the location you specified:
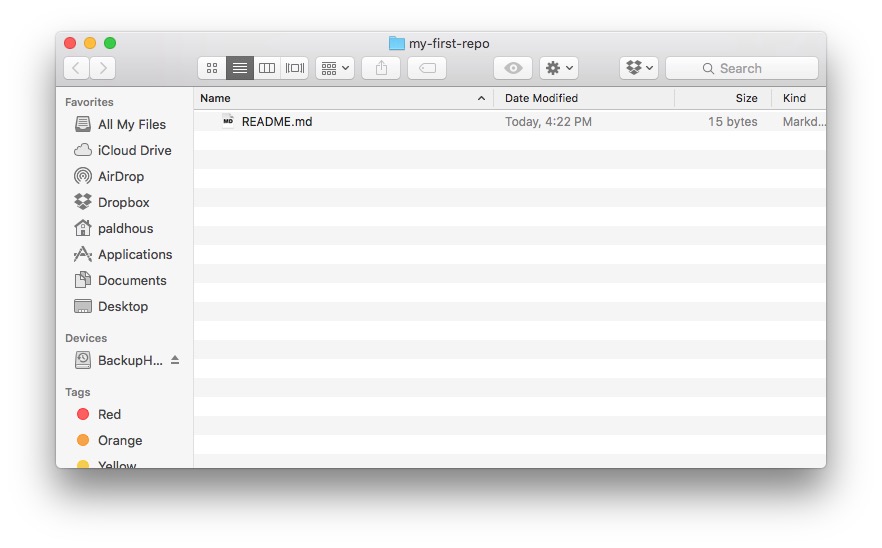
It contains a single file called README.md. This is a simple text file written in a language called Markdown, which we will explore shortly. You use this file to
write an extended description for your project, which will be displayed on the repo’s page on GitHub.
Make a simple change to the project
Add the file index.html to the project folder on your computer. Notice that you now have 1 Uncommitted Change in GitHub Desktop.
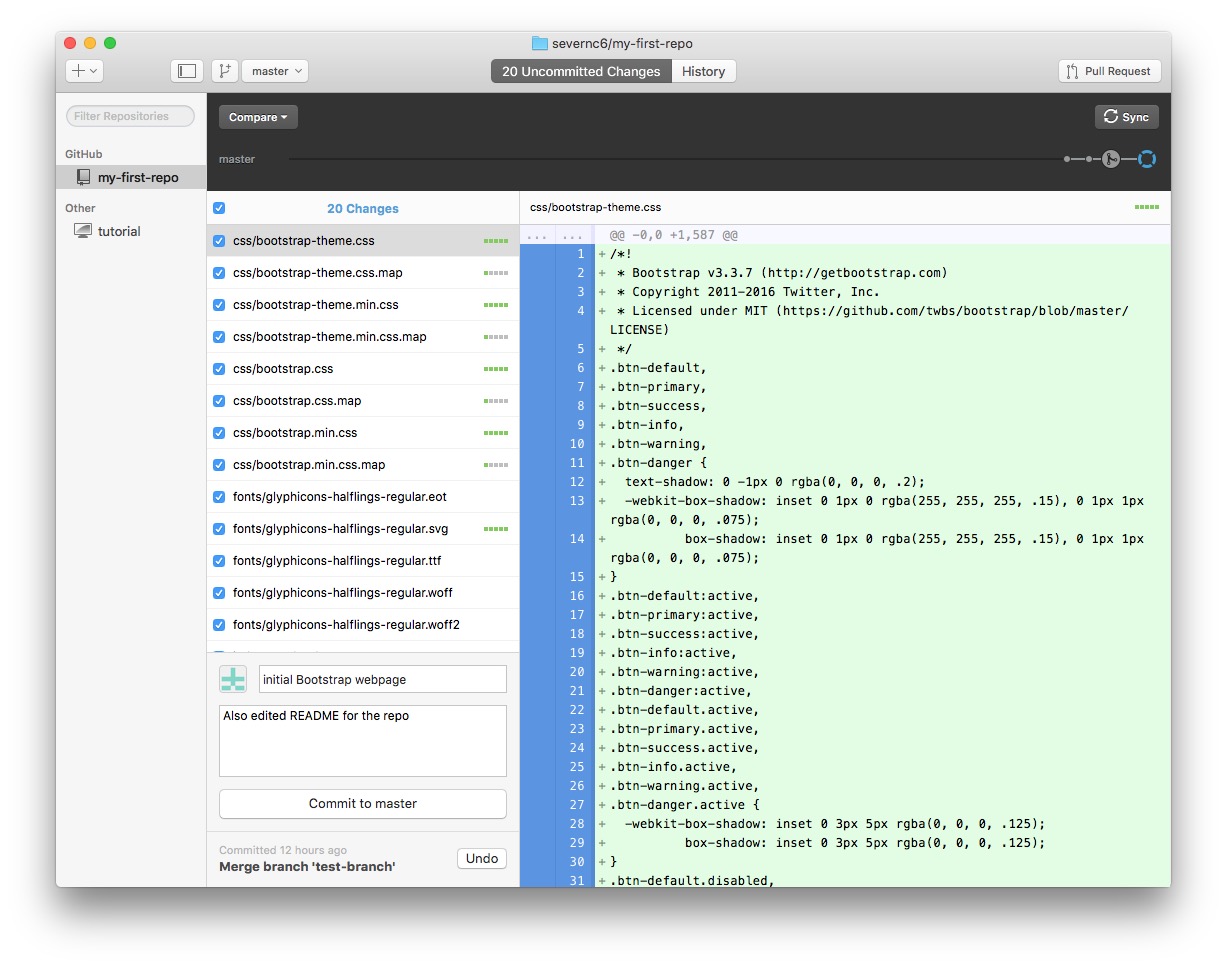
Click on that tab, and you should see the following screen:
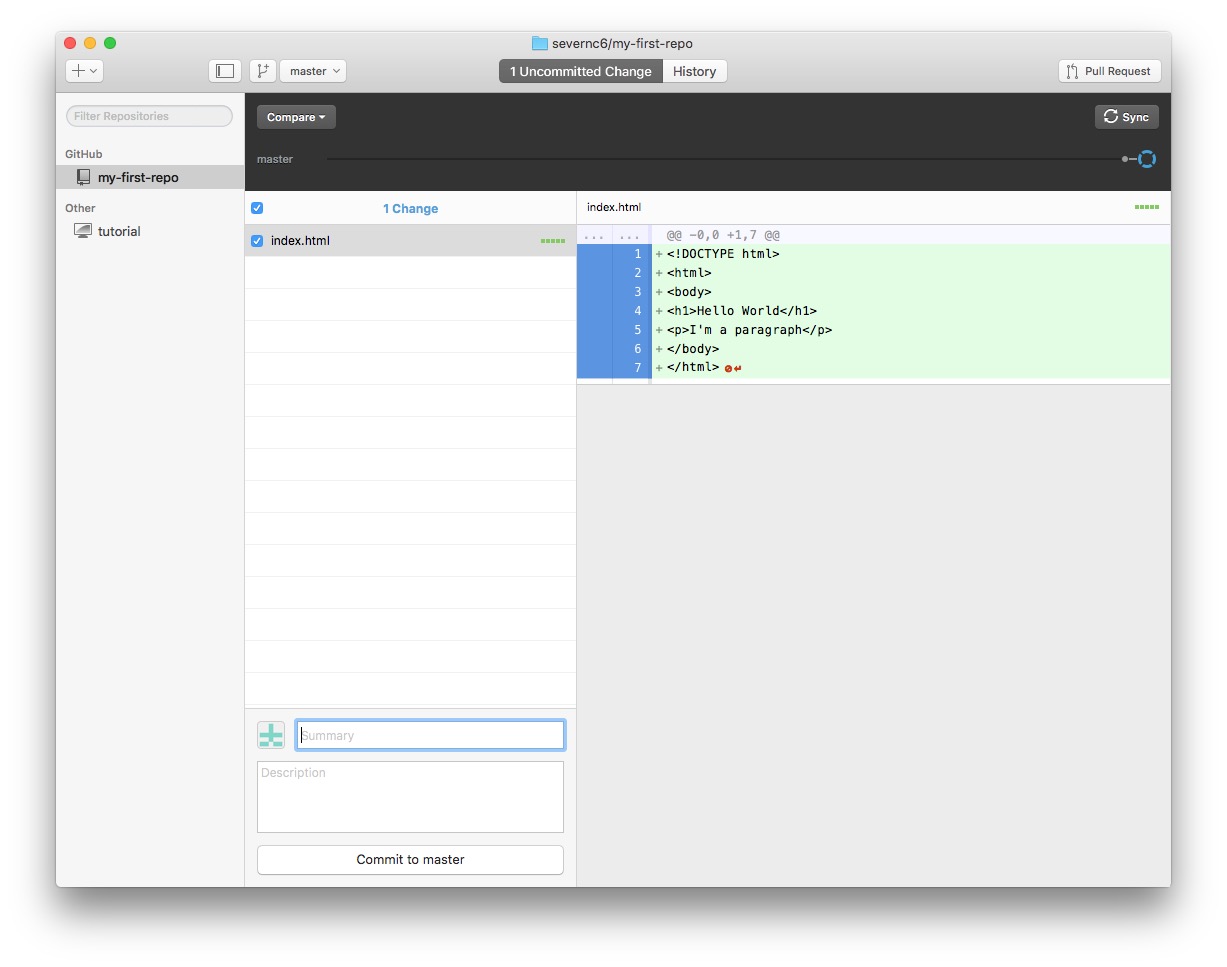
GitHub Desktop highlights additions from your last commit in green, and deletions in red.
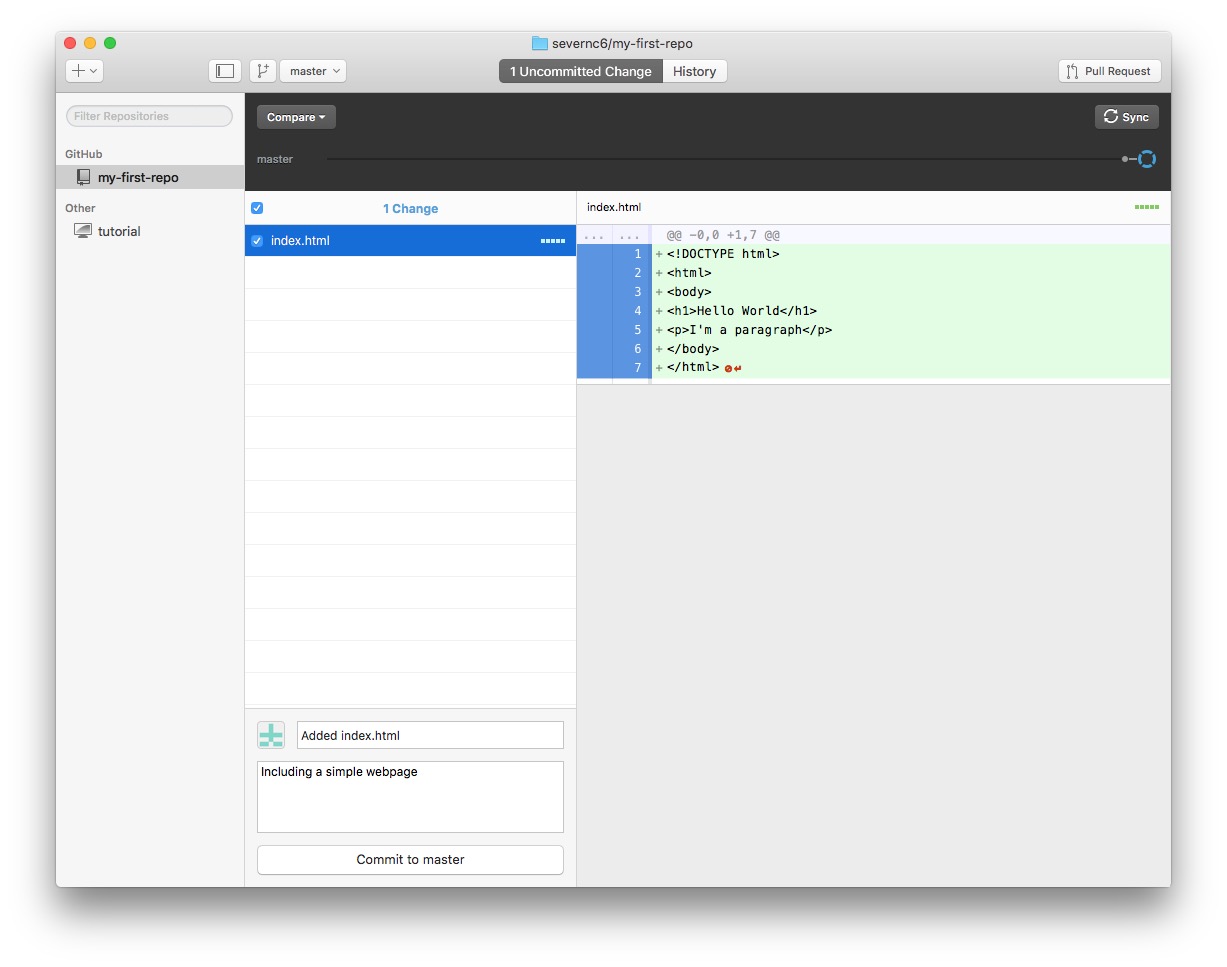
Commit that change, sync with GitHub
Write a summary and description for your commit, then click Commit to master:
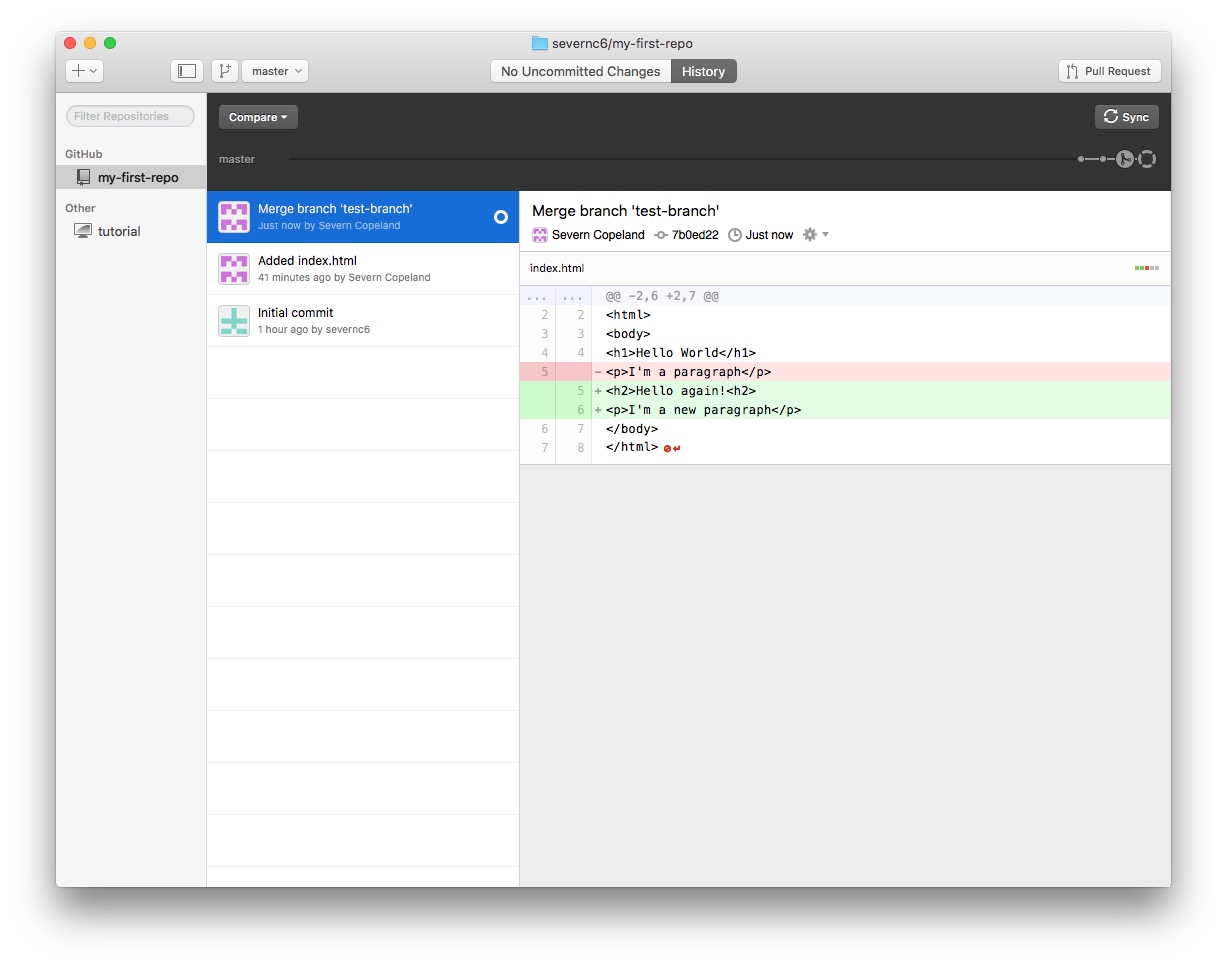
Back in the History tab, you should now see two commits:
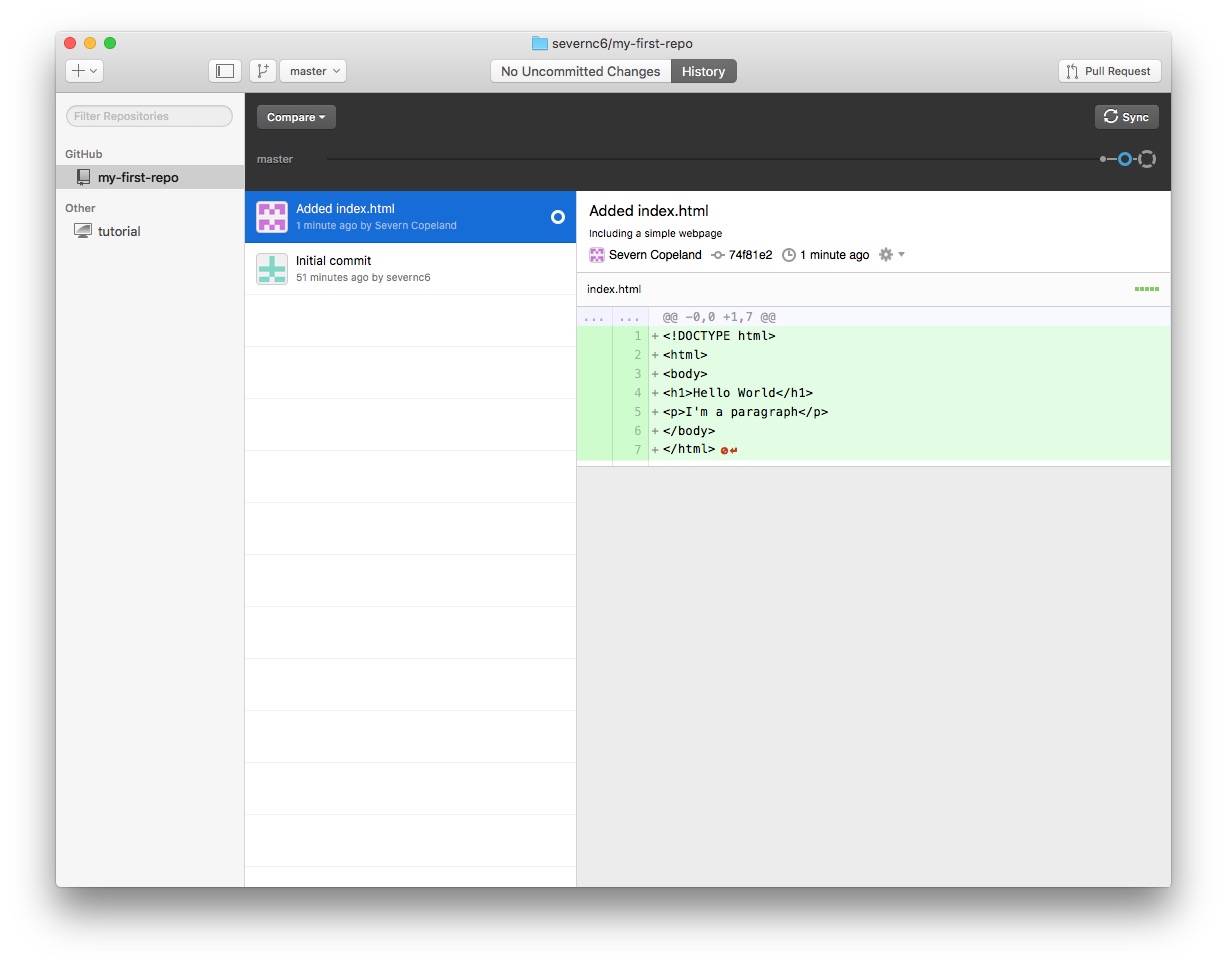
So far you have committed the change on your local computer, but you haven’t pushed it to GitHub, To do that, click the Sync button at top right.
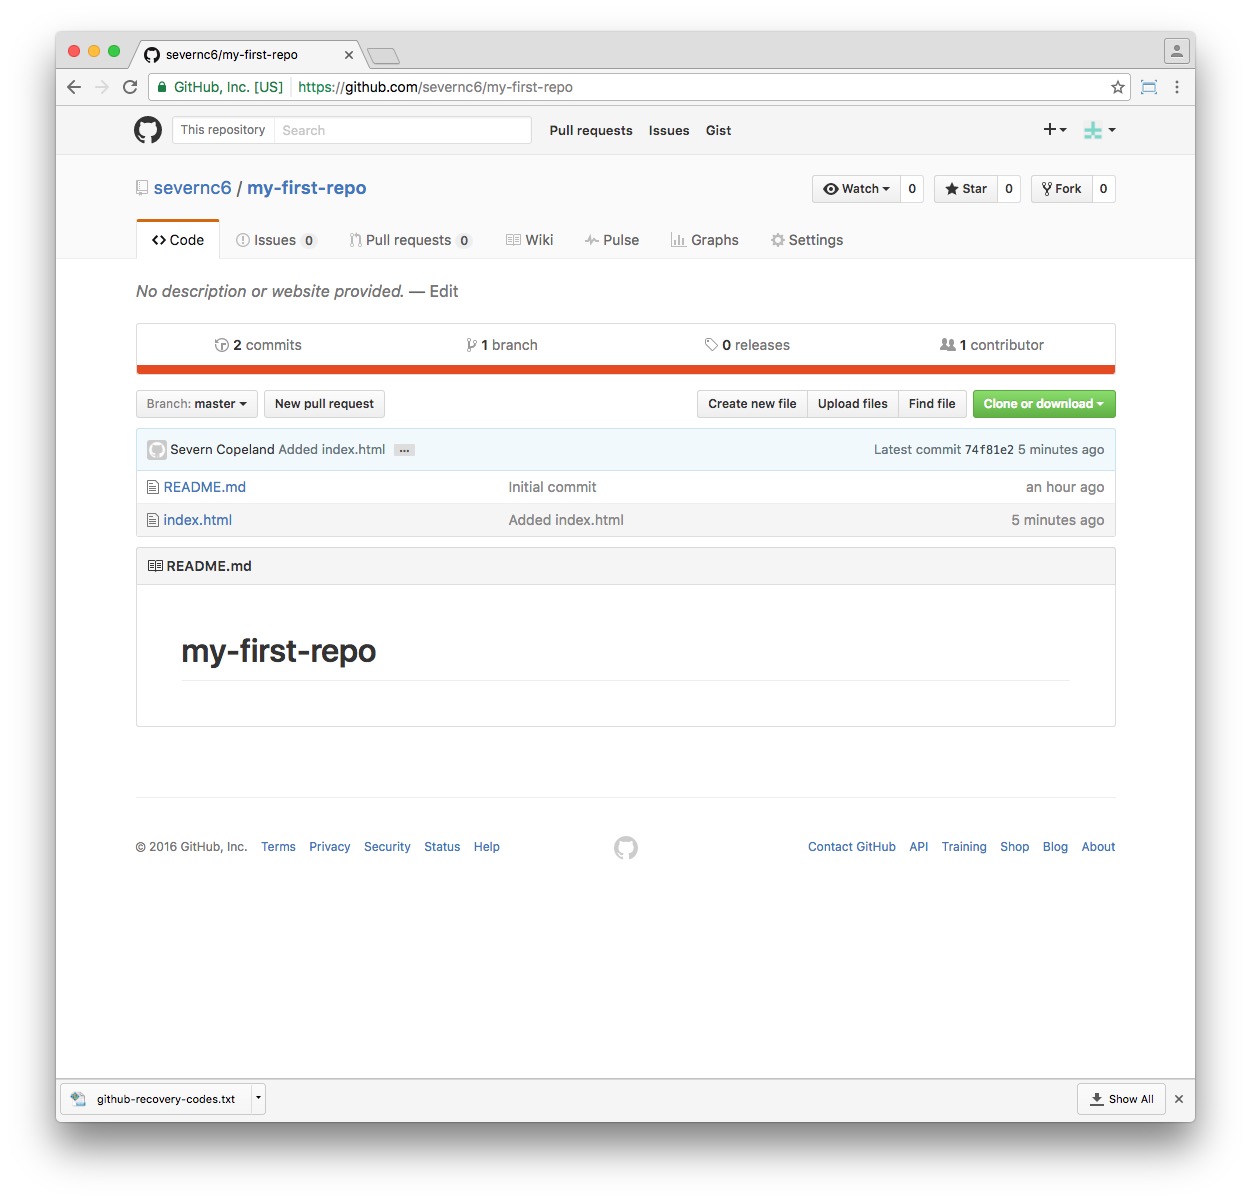
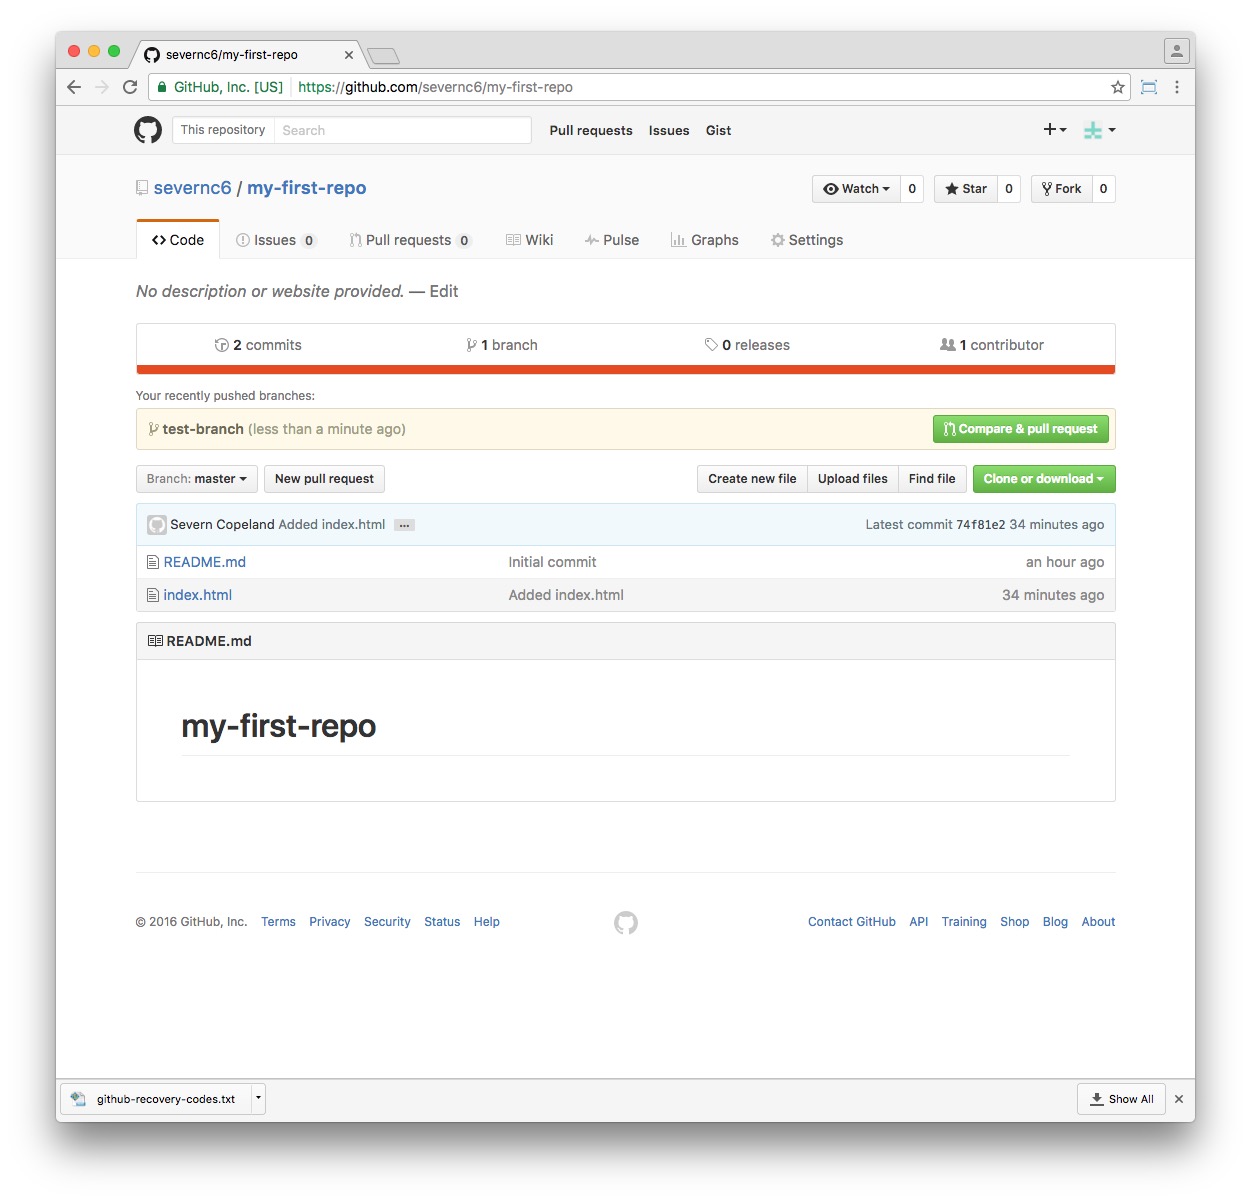
Go to the project page on the GitHub website, refresh your browser if necessary, and see that there are now two commits, and the index.html file is in the remote repo:
Make a new branch, make a pull request, and merge with master
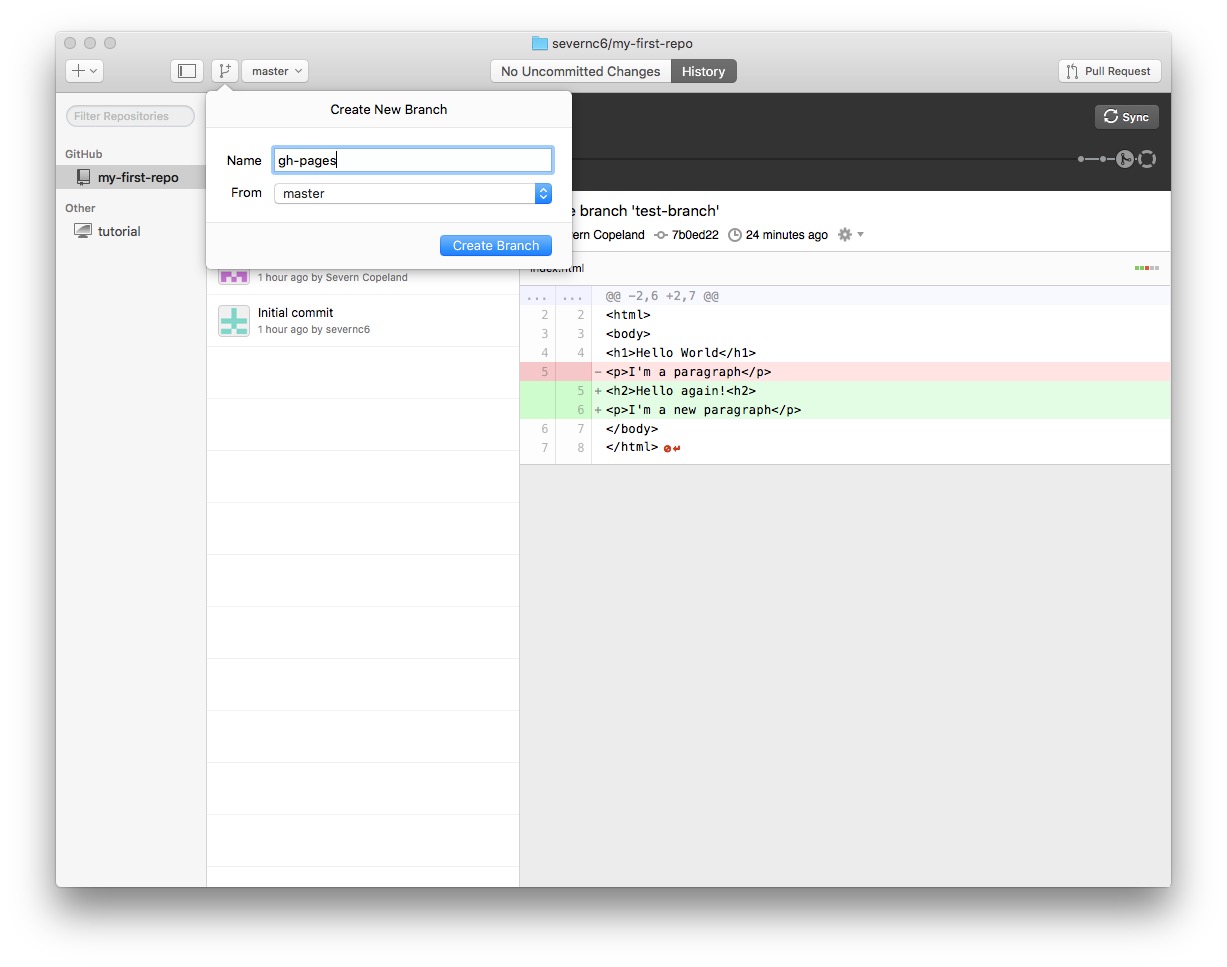
Back in GitHub Desktop, click on the new branch button at top left, and create a new branch called test-branch:
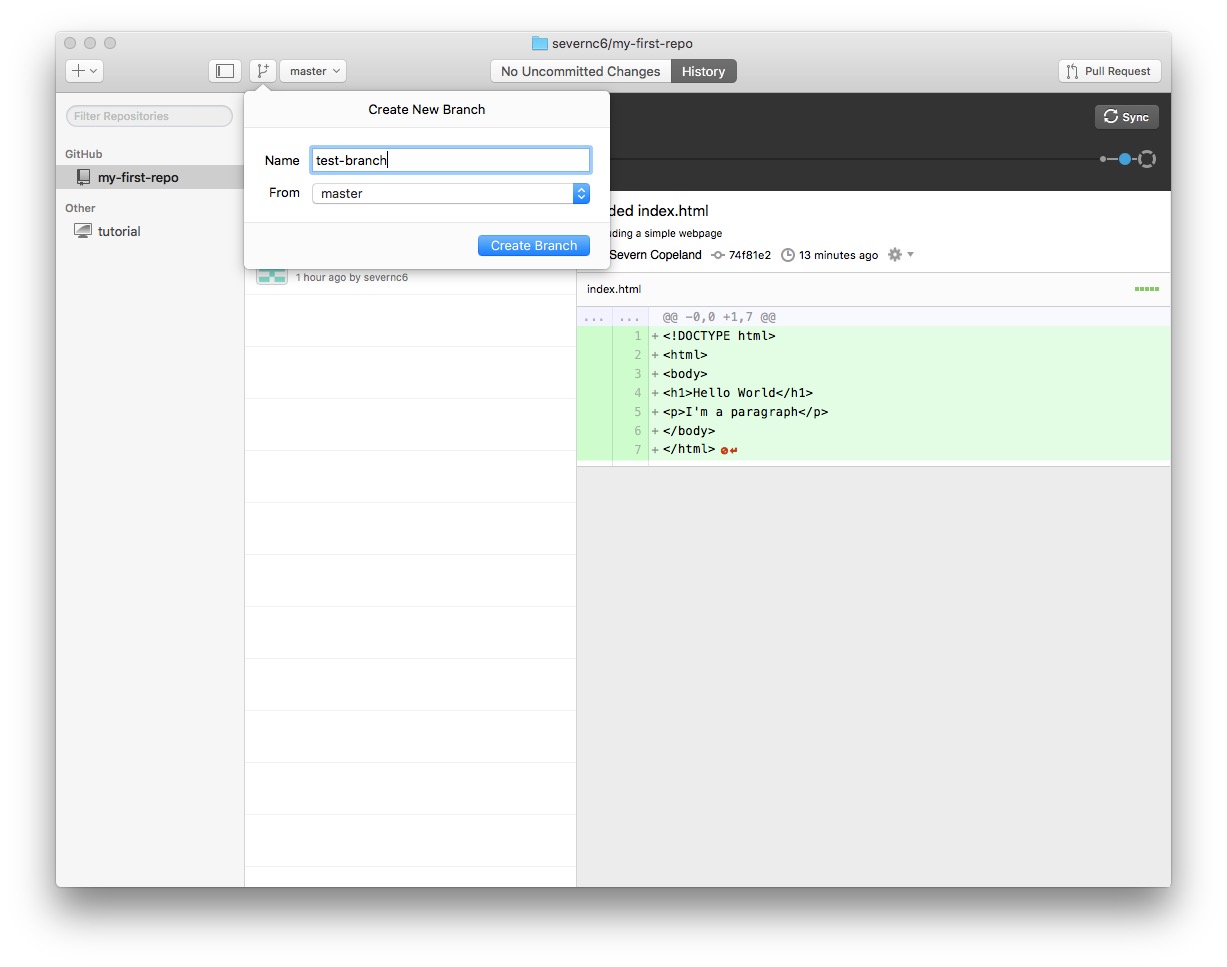
You can now switch between your two branches using the button to the immediate right of the new branch, which will display either master or test-branch. Do pay close attention to which branch you are working in!
Here I am working in the test branch, having made the edit below:
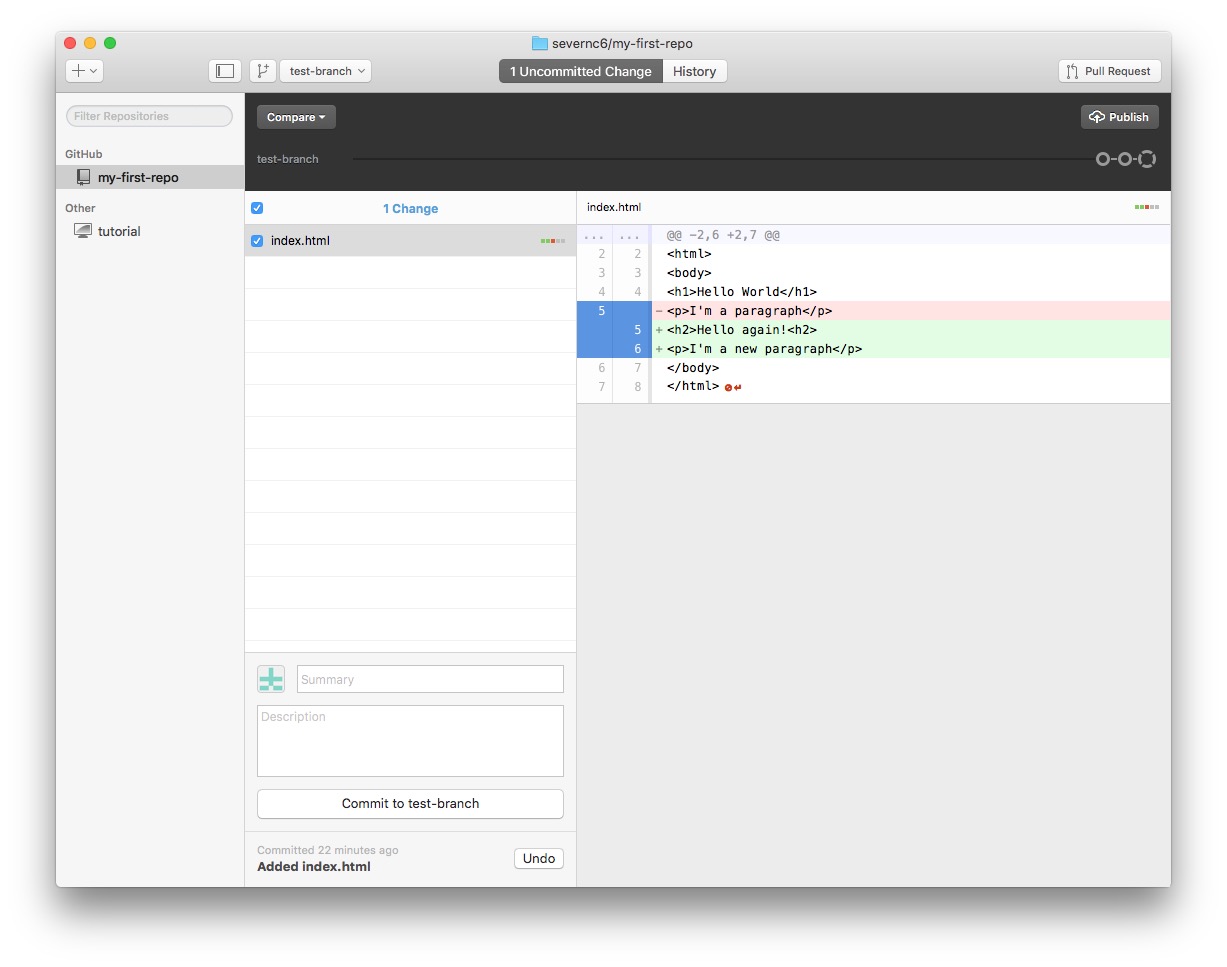
While in the test-branch on Github Desktop, open index.html in a text editor. Delete <p>I'm a paragraph</p> and replace it with the following:
<h2>Hello again!</h2>
<p>I'm a new paragraph</p>
Save the file, then return to GitHub Desktop to view the changes in the test-branch.
Now switch to the master branch and look at the file index.html in your text editor. It should have reverted to the earlier version, because you haven’t merged the change in test-branch with master.
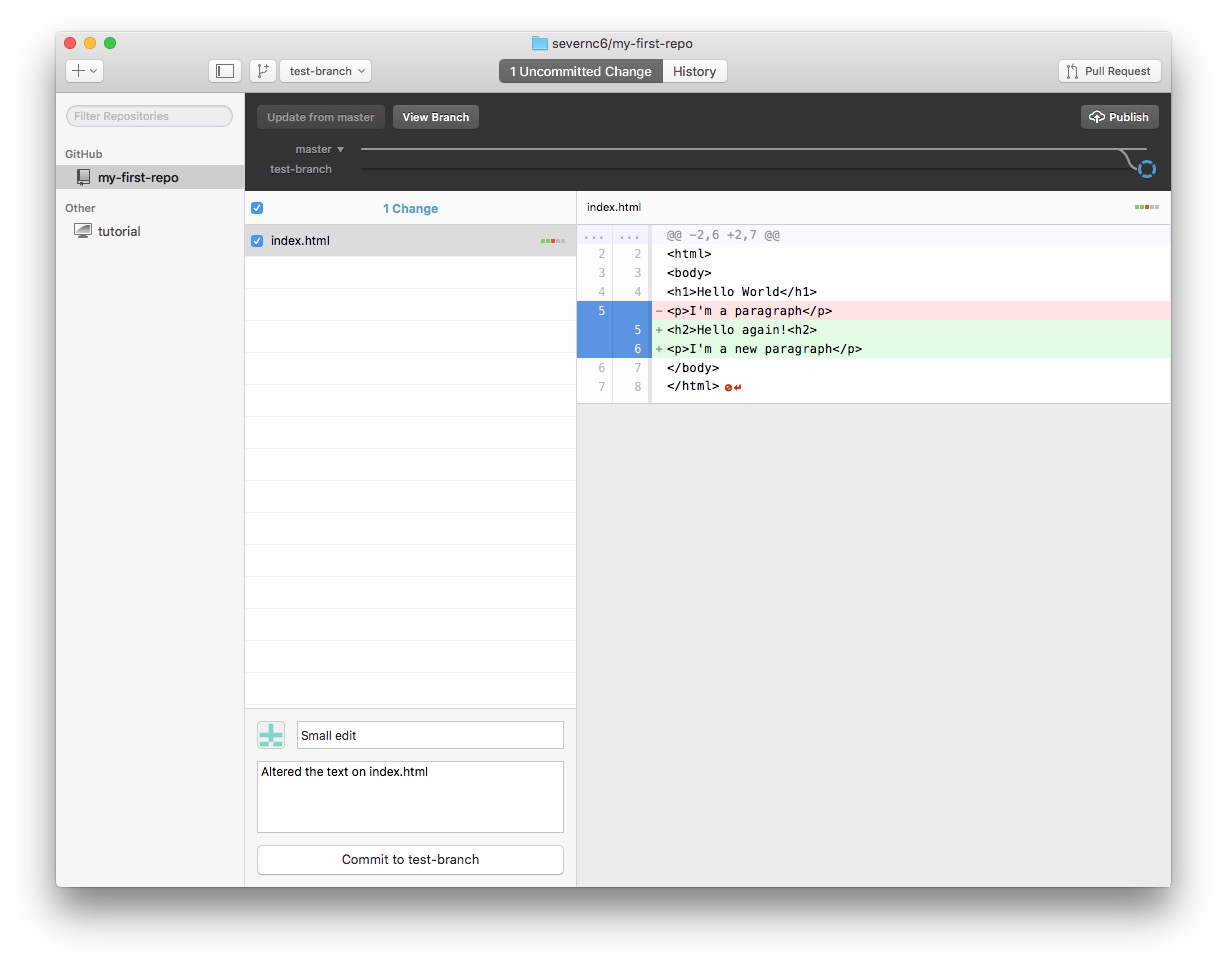
Switch back to test-branch in Github Desktop, and commit the change as before with an appropriate summary and description:
Click the Pull request at top right and then Send Pull Request:
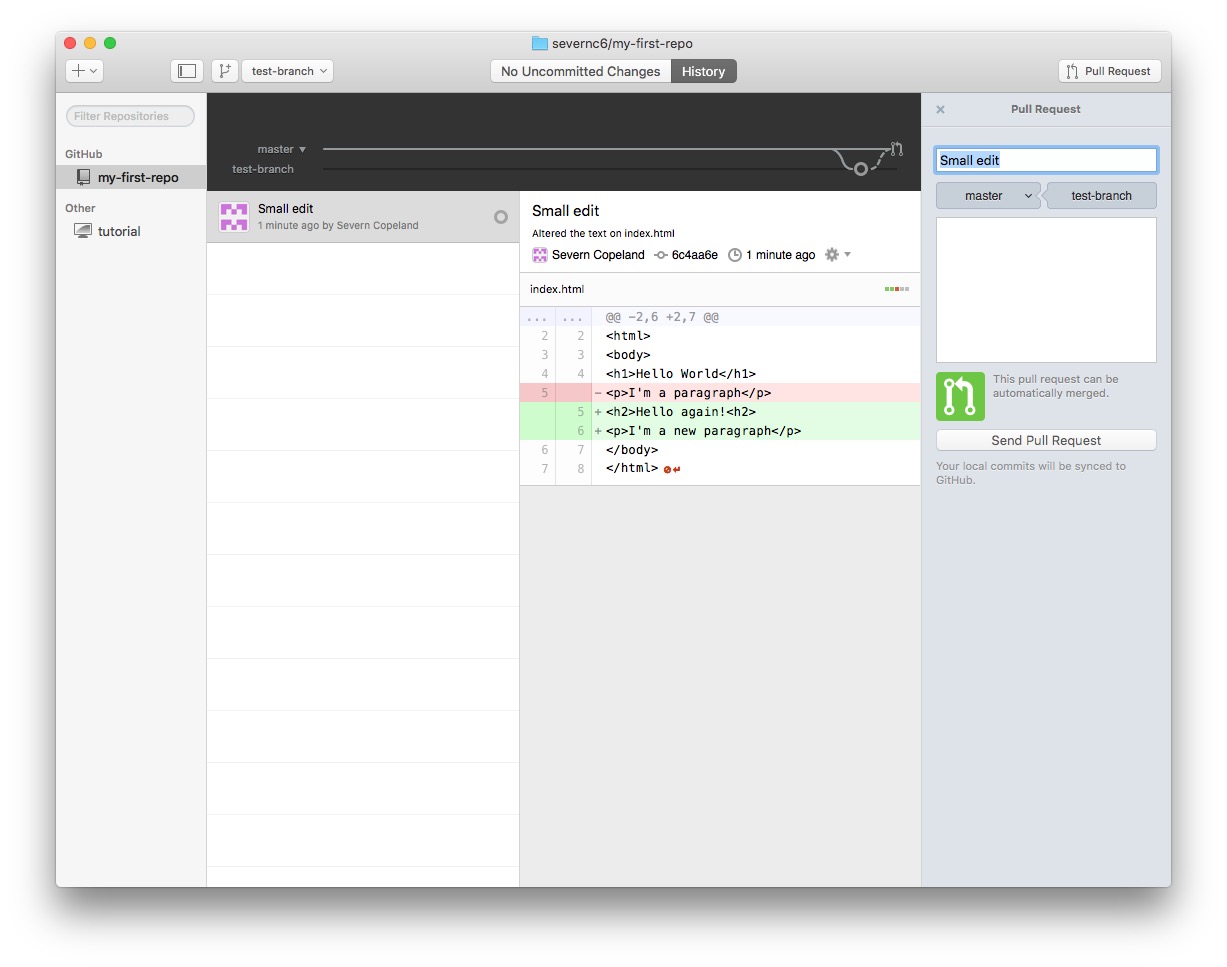
You should now be able to see the pull request on GitHub:
Click Compare & pull request to see the following screen:
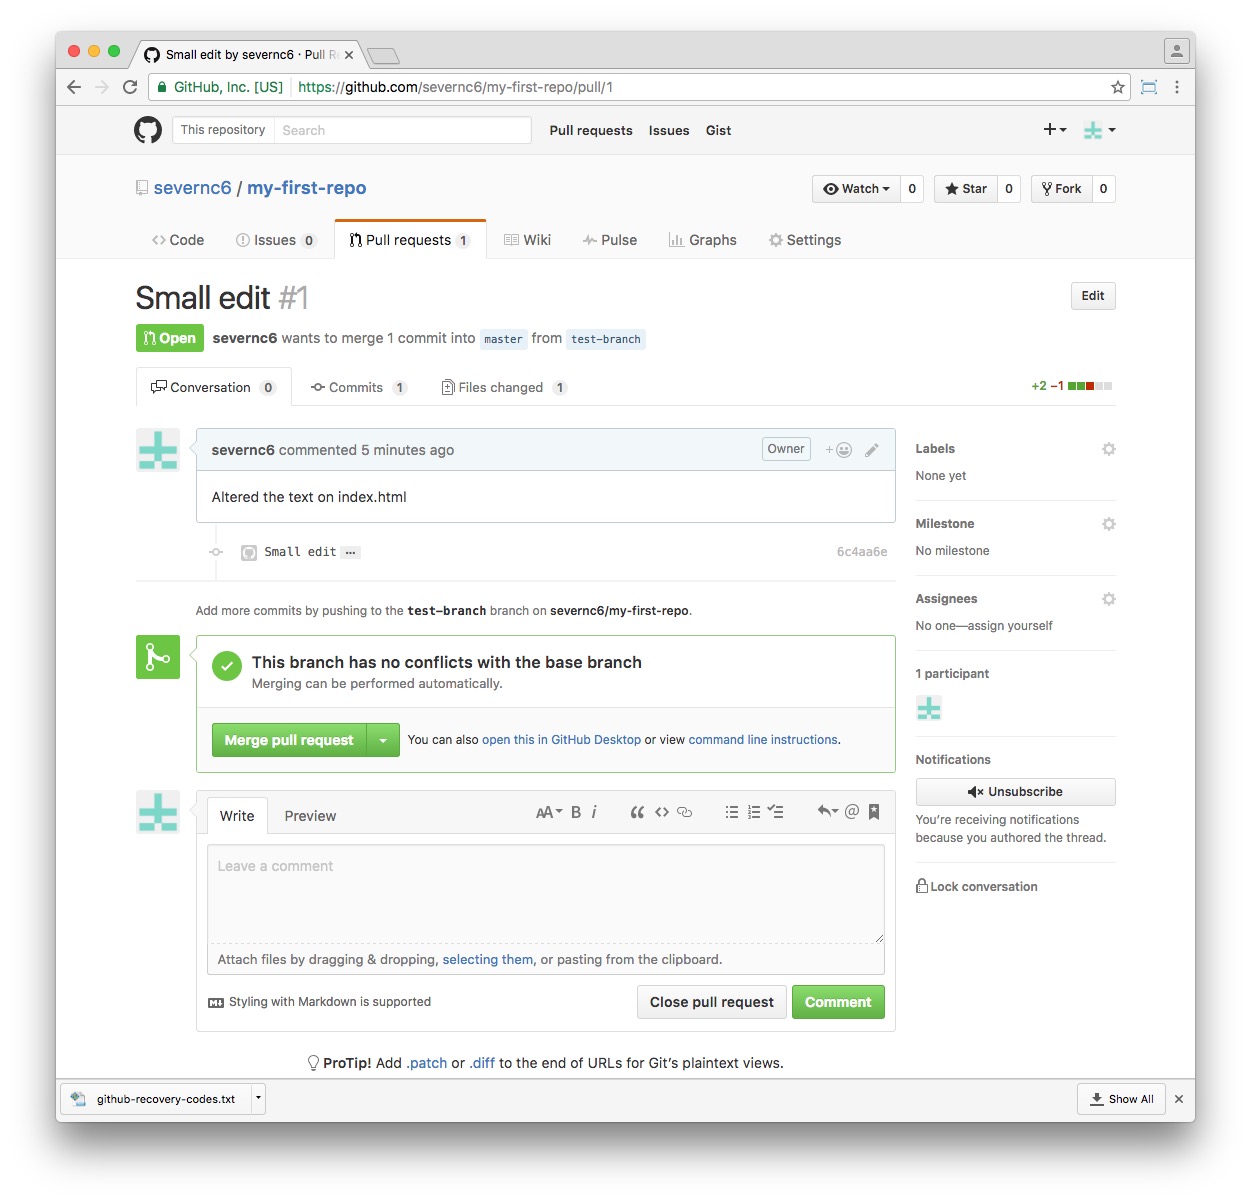
If another collaborator had made this pull request, you might merge this into master online and then sync your local version of the repo with the remote to incorporate it.
However, you made this pull request, so Close pull request and return to GitHub desktop. In the master branch, click Compare at top left. Select test-branch and then click Update from test-branch. This should merge the changes from test-branch into master:
Make sure you are in the master branch on GitHub Desktop, then view the file in your text editor to confirm that it is now the version you edited in test-branch.
Make a gh-pages branch, and publish to the web
In your master branch on Github Desktop, make a branch called gh-pages:
In this branch, click the Publish button at top right.
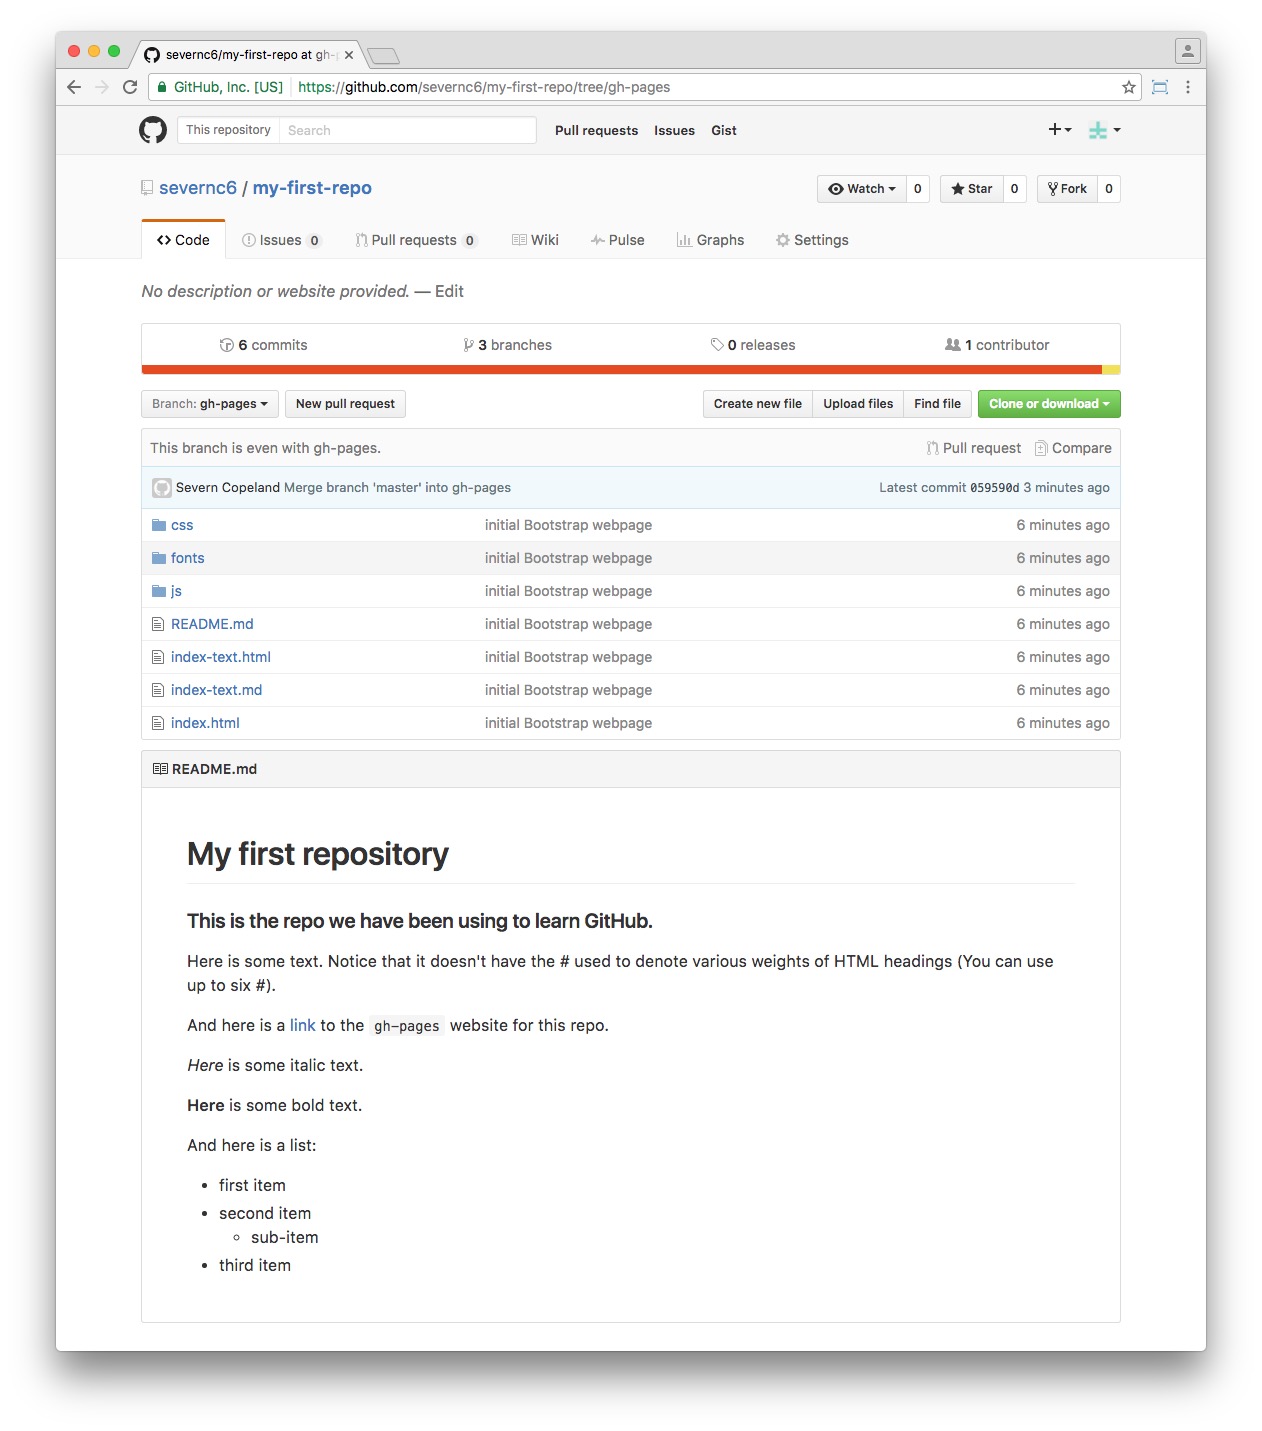
Now go to the GitHib repo page, refresh your browser if necessary, and notice that this branch now exists there:

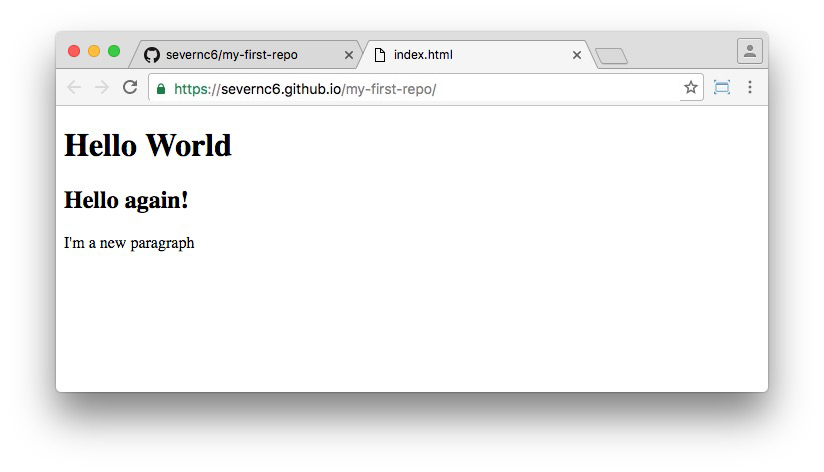
Now go the the url https://[username].github.io/my-first-repo/, whhere [username] is your GitHub user name, and the webpage index.html should be online:
Introducing Markdown, Haroopad, and Bootstrap
Markdown provides a simple way to write text documents that can easily be converted to HTML, without having to worry about writing all of the tags to produce a properly formatted web page.
Haroopad is a Markdown editor that we will use to edit the README.md for our repos, and also author some text to add to a simple webpage.
Bootstrap is a web framework that allows you to create responsively designed websites that work well on all devices, from phones to desktop computers. It was originally develeoped by Twitter.
(I used Bootstrap to make this class website, writing the class notes in Markdown using Haroopad.)
Edit your README, make some more changes to your repo, commit and sync with GitHub
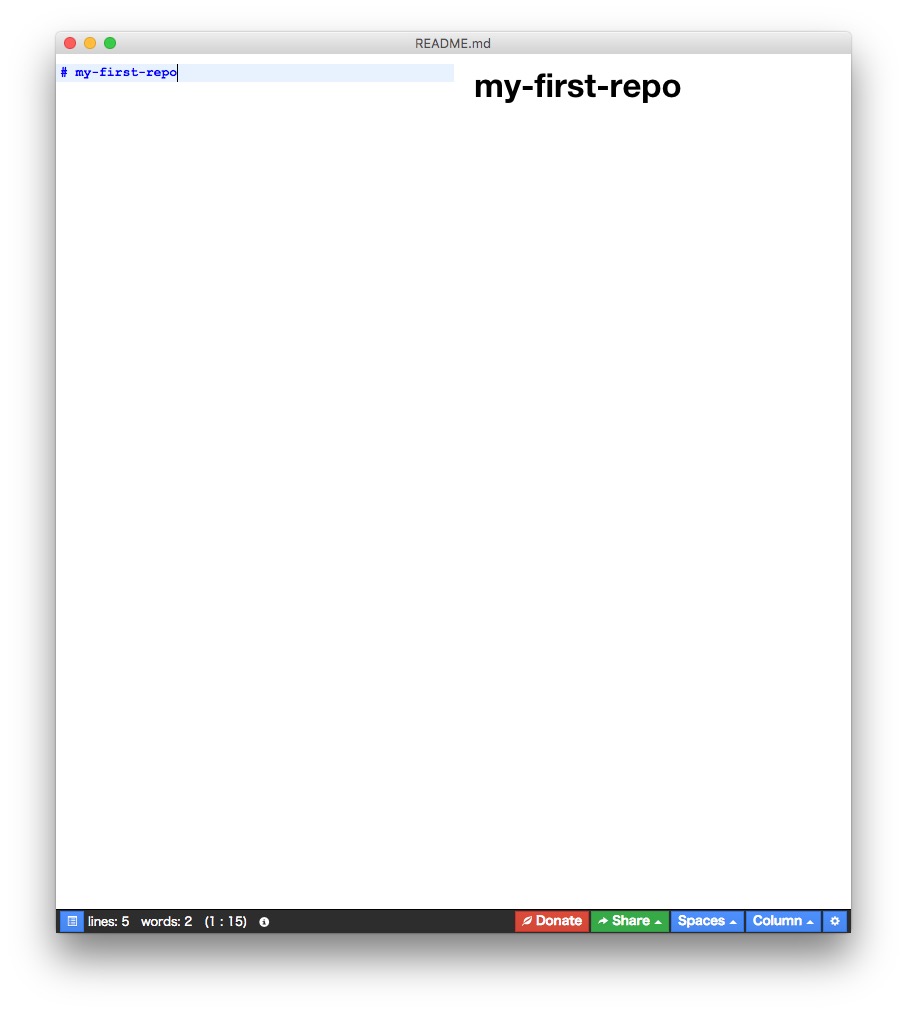
Open README.md in Haroopad. The Markdown code is shown on the left, and how it renders as HTML on the right:
Now edit to the following:
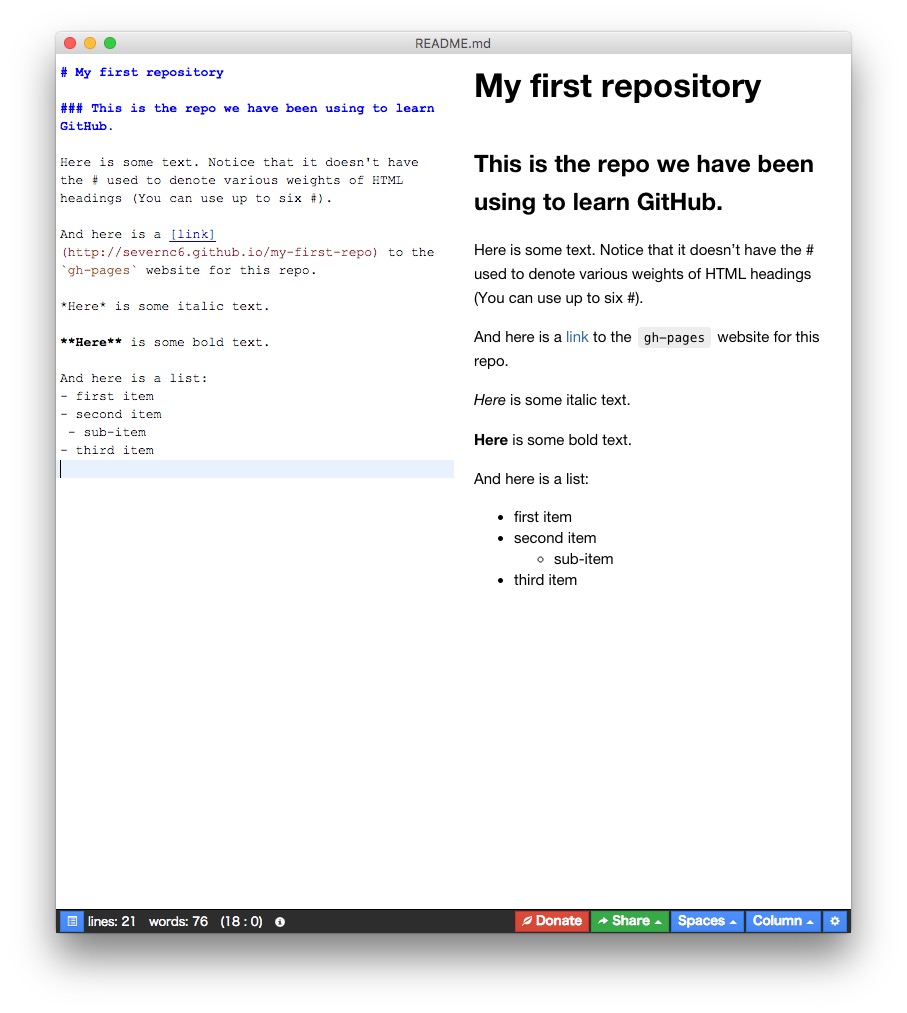
# My first repository

### This is the repo we have been using to learn GitHub.

Here is some text. Notice that it doesn't have the # used to denote various weights of HTML headings (You can use up to six #).

And here is a [link](http://severnc6.github.io/my-first-repo) to the `gh-pages` website for this repo.

*Here* is some italic text.

**Here** is some bold text.

And here is a list:
- first item
- second item
 - sub-item
- third item
This should display in Haroopad like this:
See here for a more comprehensive guide to using Markdown.
Save README.md in Haroopad and close it.
With Github Desktop in the master branch, delete index.html from your repo, and copy into the repo the file index2.html and the folders js, css, and fonts. Rename index2.html to index.html.
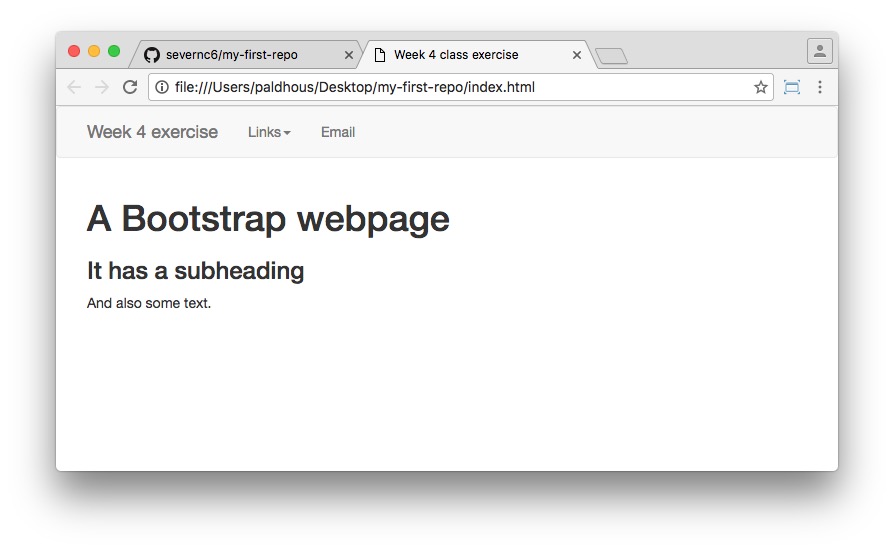
You now have a template Bootstrap page with a navigation bar at the top. Open in a browser, and it should look like this:
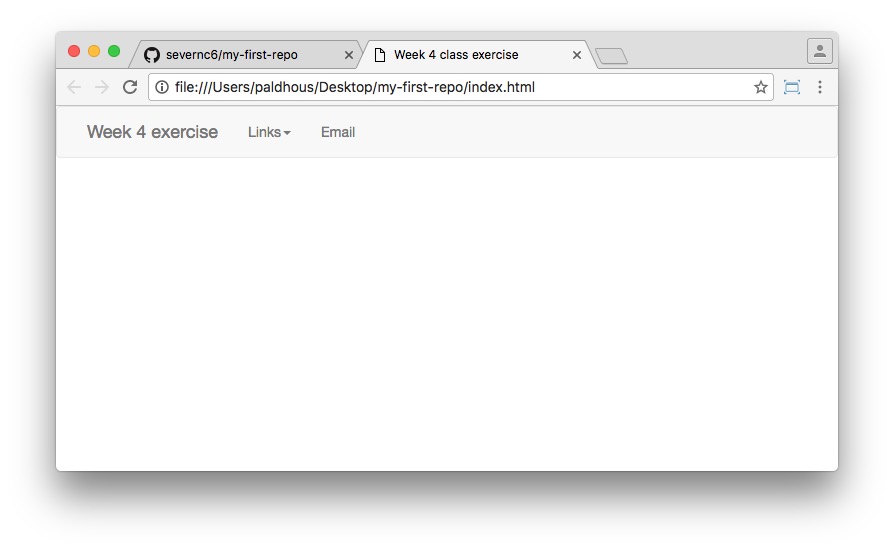
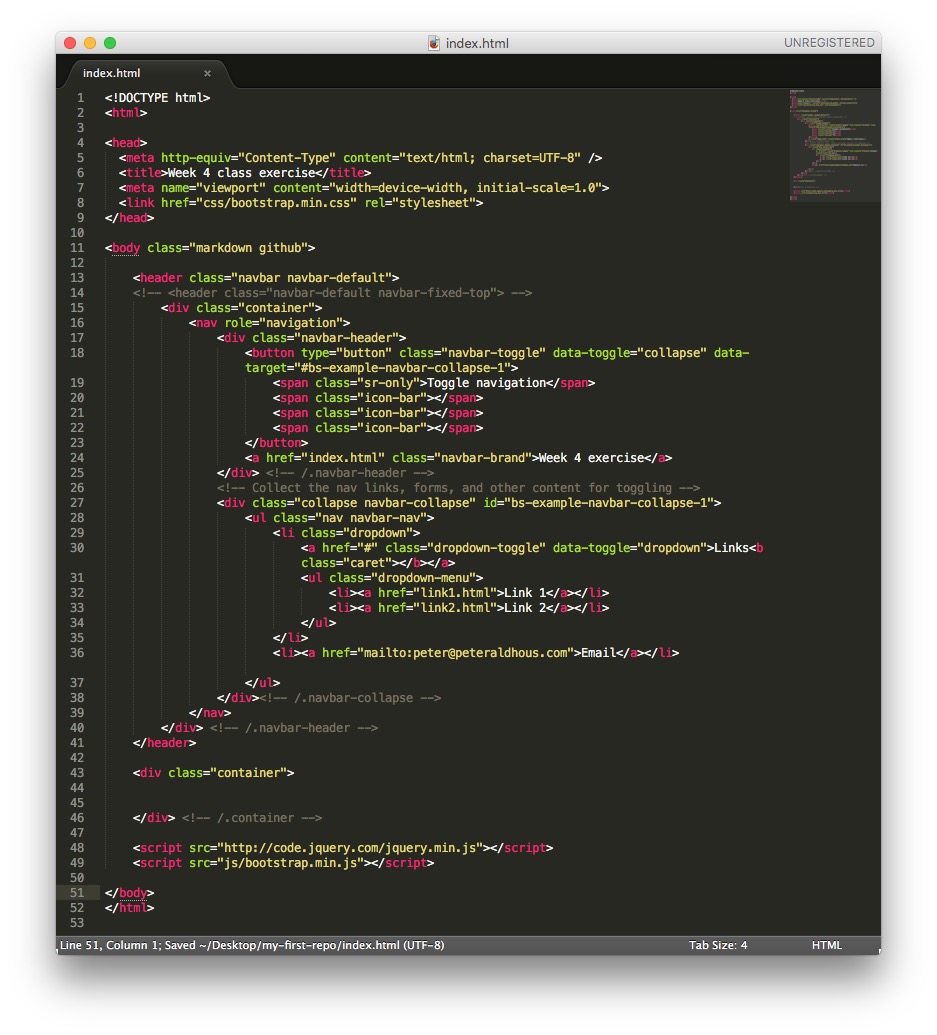
The links in the dropdown menu are currently to pages that don’t exist, and the email link will send a message to me. Open in a text editor to view the code for the page:
Open a new file in Haroopad, edit to add the following and save into your repo as index-text.md:
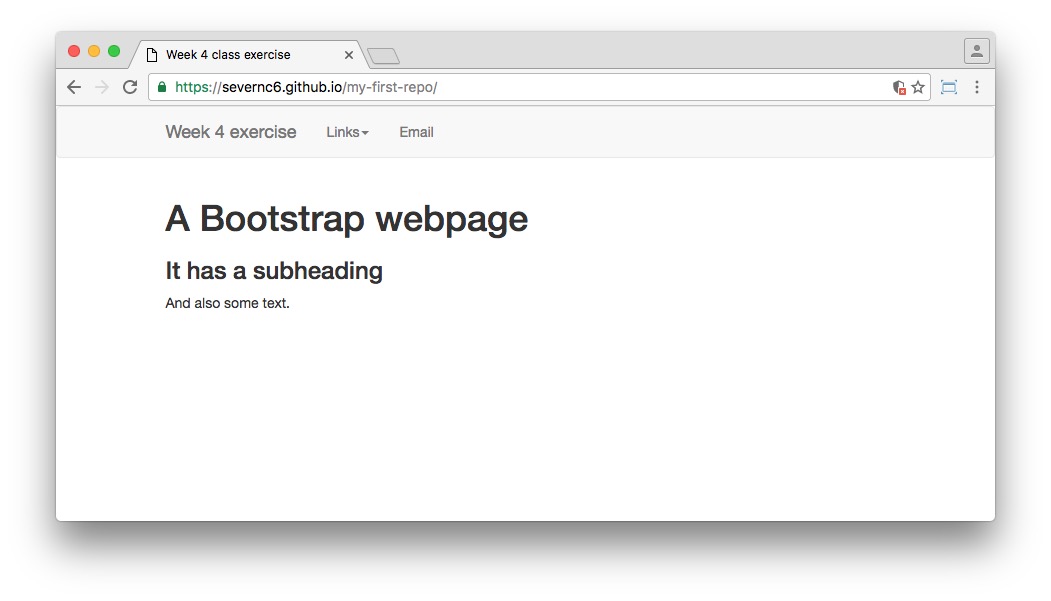
# A Bootstrap webpage

### It has a subheading

And also some text.
From the top menu in Haroopad, select File>Export...>HTML and notice that it has saved as a webpage in your repo your computer.
We just want to take the text from the web page and copy it into our index.html page. To do this, select File>Export...>Plain HTML from the top menu in Haroopad, open index.html in your text editor, position your cursor between immediately below the <div class="container"> tag, and ⌘-V to paste in the HTML for the text we wrote in Haroopad.
Save index.html and view in your browser.
In GitHub Desktop, view the uncommited changes, Commit to master and Sync to GitHub.
Now switch to the gh-pages branch, Update from master and Sync:
Both the master and gh-pages branches should now be updated on GitHub:
Follow the link we included in the README, and you’ll be sent to the hosted webpage, at https://[username].github.io/my-first-repo/, where [username] is your GitHub user name.
Next steps with Bootstrap
W3Schools has a tutorial here, and Jeremy Rue has a tutorial here. The key to responsive design with Bootstrap is its grid system, which allows up to 12 columns across a page. This section of the W3schools tutorial explains how to use the grid system to customize layouts for different devices.
This site helps you customize a Bootstrap navigation bar.
There are various sites on the web that provide customized Bootstrap themes — some free, some not. Search “Bootstrap themes” to find them. A theme is a customized version of Bootstrap that can be used as a starting point for your own website. Jeremy Rue has also created a suggested portfolio theme.
Assignment
- Create a repository on GitHub to host your final project and clone to your computer so you can manage the project in GitHub Desktop.
In Markdown, write a pitch for your final project in a file called
project-pitch.md. Your final project accounts for 45% of your grade for this class, so it’s important that you get off to a good start with a substantial and thoughtful pitch. You will also be graded separately on this pitch assignment.- Explain the goals of your project.
- Detail the data sources you intend to use, and explain how you intend to search for data if you have not identified them.
- Identify the questions you wish to address.
- Building from these questions, provide an initial outline of how you intend the visualize the data, describing the charts/maps you are considering.
Using Haroopad, save the Markdown document as an HTML file with the same name.
Create a
gh-pagesbranch for your repository and publish it on GitHub. View the webpage at created athttp://[username].github.io/[project]/project-pitch.htmlwhere[username]is your GitHub user name and[project]is the name of your project repository.Share that url with me so I can read your project pitch and provide feedback.
Further reading
Workflow and Github
Lesson from Jeremy Rue’s Advanced Coding Interactives class.
Getting Started with GitHub Desktop
Getting Started with GitHub Pages
This explains how you can creates web pages automatically from GitHub. However, I recommend authoring them locally, as we covered in class.
Getting started with Bootstrap
Using Bootstrap Framework For Building Websites
Lesson from Jeremy Rue’s Intro to Multimedia Web Skills class.